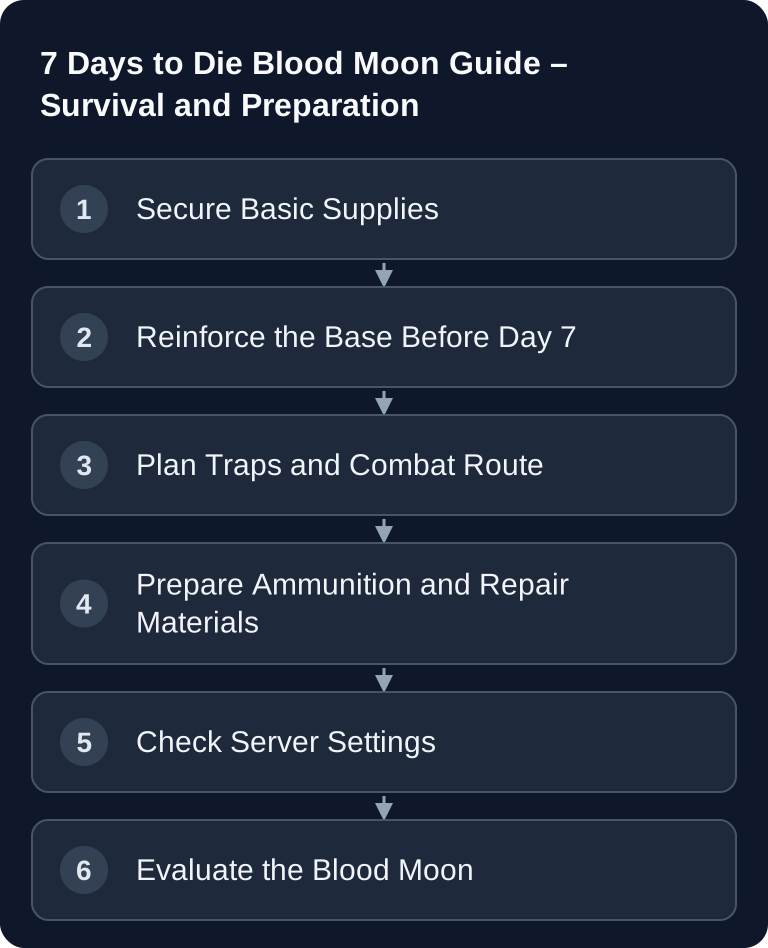
The Blood Moon horde in 7 Days to Die is not a single boss fight but a plannable stress test for your base, supplies and server configuration. If you prepare a clear combat position, repair materials, ammunition and a controlled zombie path before day 7, you will survive more reliably and afterwards recognize which parts of your defense really hold up.
What the Blood Moon Means
By default, the Blood Moon horde appears every 7 in-game days. The zombies target you specifically, damage blocks and put your base under pressure. On a multiplayer server, the practical difficulty increases further, because multiple players can generate more spawn pressure and the horde holds attention for longer.
For dedicated servers, the Blood Moon values in serverconfig.xml are relevant. The community documentation in the 7 Days to Die wiki on server configuration describes BloodMoonFrequency as the frequency in days and also states that BloodMoonEnemyCount limits the zombies alive at the same time per player during the Blood Moon horde, whereby MaxSpawnedZombies can override this number in multiplayer: Documentation at 7daystodie.wiki.gg
If you are planning your own server in general, the follow-up Rent and Set Up a 7 Days to Die Server Guide fits. For groups that run other survival co-op games in parallel, the Rent and Set Up a Valheim Server Co-op Guide is also useful.
Preparation Until the First Horde
Days 1-3: Basics
In the first few days, what counts is not perfection but availability. You need tools, a working melee or ranged weapon, food, water, bandages or other healing, and enough wood, stone, clay and iron. A first base in a POI is often sensible for beginners, because walls, height and room structure are already there.
It is important to mentally separate your living base from your horde base. Your storage chests, workbenches and valuable resources should not stand exactly where zombies tear down blocks on Blood Moon night. If you only use one base, at least secure a retreat room and keep repair materials within reach.
Days 4-6: Expanding the Base
Now you reinforce the critical structural parts. The original sequence is still correct: cobblestone is a good early target, concrete follows later. Concentrate first on load-bearing blocks, stairs, doors, the combat platform and the blocks zombies are likely to hit. A large base with weak walls is riskier than a small, clear construction with a reinforced zombie path.
Do not place traps randomly around the whole base. Spikes, electric traps and later active traps work better when zombies walk through a corridor, a ramp or a choke point. That way you repair more precisely and waste less material.
Day 7: Blood Moon Night
Shortly before it begins, all traps should be active, weapons loaded and repair materials in place. Bring not only ammunition but also spare tools, healing, food, water and blocks for emergency repairs. A backup plan is mandatory: a ladder, a second exit or a protected jump route prevent a single structural break from ending the run.
Base Designs
| Design | Difficulty | Effectiveness |
|---|---|---|
| Hatch Base | Easy | High for the early game |
| Tower Base | Medium | Good against hordes |
| Corridor Base | Medium | Trap-based |
| Underground | Hard | Depends on access route, supports and digging behavior |
A hatch base is popular for early Blood Moons because it stops zombies at a controlled spot. A tower base uses height but needs stable supports. A corridor base scales well with traps but requires clean path guidance. Underground bases can work, but are harder for inexperienced players to assess, because routes, digging behavior and repair access quickly become confusing.
Trap Guide
Easy:
- Wood Spikes (cheap, weak)
- Iron Spikes (standard)

Advanced:
- Blade Trap (very effective)
- Electric Fence (slows down)
- Dart Trap (ranged)
- SMG Turret (automatic)
Wood spikes are cheap but no substitute for a stable base. Iron spikes hold up better but must be checked after the night. The electric fence is especially useful when you want to slow zombies down and hit them precisely. Blade traps, dart traps and SMG turrets need suitable resources, power or ammunition, and should be installed so that you can maintain them without standing directly in the horde.
Server Settings for the Blood Moon
<property name="BloodMoonFrequency" value="7"/>
<property name="BloodMoonRange" value="0"/>
<property name="BloodMoonWarning" value="8"/>
<property name="BloodMoonEnemyCount" value="8"/>
The four entries define the rhythm, random range, warning hour and a Blood Moon limit. BloodMoonEnemyCount=8 is not a guarantee that eight zombies per player constantly appear: group game stages, global limits and version-dependent spawn rules can reduce the actual count. Therefore, compare the comments in the serverconfig.xml shipped with your version and the spawn output in the log. Back up the active XML, change one value and restart in a controlled way. The The Fun Pimps configuration examples already mention game stages and MaxSpawnedZombies as further limits.
On a rented game-serverhosting server, the advantage is not a magic balance preset but controllable operation: you can set configurations deliberately, trace changes and, when problems occur, contact support with clear details on version, file and time.
Verifying the Result
After the Blood Moon, you should not return to your daily routine right away. First check which blocks were almost destroyed, whether zombies deviated from the planned path, how much ammunition was used and whether someone on the team had to do nothing but repair. If the horde was survived but a single block break would have endangered everything, the base is not yet stable enough for the next level.
Troubleshooting
Zombies Attack Unexpected Walls
Usually the intended path is blocked, too expensive or unattractive from the AI's point of view. Check doors, hatches, ramps and jump points. A clear, reachable path to the combat position reduces uncontrolled wall attacks.
The Horde Feels Too Strong
Do not reflexively lower all difficulty values. First check repair materials, base shape, player positions and ammunition supply. If you adjust server values, start with BloodMoonEnemyCount or a longer preparation time via BloodMoonFrequency.
Traps Barely Help
Traps only work where zombies reliably walk. Build choke points, block alternative routes and place maintenance access. A trap that you cannot repair during or after the night is only useful in the short term.
The Server Lags During the Blood Moon
Distinguish low client FPS from delayed simulation on the server: check whether several players report the same delays at the same time, and compare the server log, RAM and CPU during the horde. Then test a lower BloodMoonEnemyCount on a copy with the same base and a comparable group. If only one client lags, check view distance, effects and graphics settings there before you change the server configuration for everyone.
FAQ
When does the Blood Moon come in 7 Days to Die?
By default, it comes every 7 in-game days. On servers, this rhythm can be changed via BloodMoonFrequency.
Should I fight in my living base?
For beginners, that is risky. A separate horde base protects storage, workbenches and valuable resources from unnecessary damage.
Which trap makes the most sense at the start?
Early on, wood spikes and iron spikes are realistic. Later, the electric fence, blade trap, dart trap and turrets become stronger, but need more planning and resources.
What do I need to have ready right before the horde?
Ammunition, repair materials, healing, food, water, spare tools and some blocks for emergency repairs belong right at the combat position.
Which server values are important for the Blood Moon?
Above all BloodMoonFrequency, BloodMoonRange, BloodMoonWarning and BloodMoonEnemyCount. In multiplayer, further spawn limits can influence how many zombies are actually active at the same time.