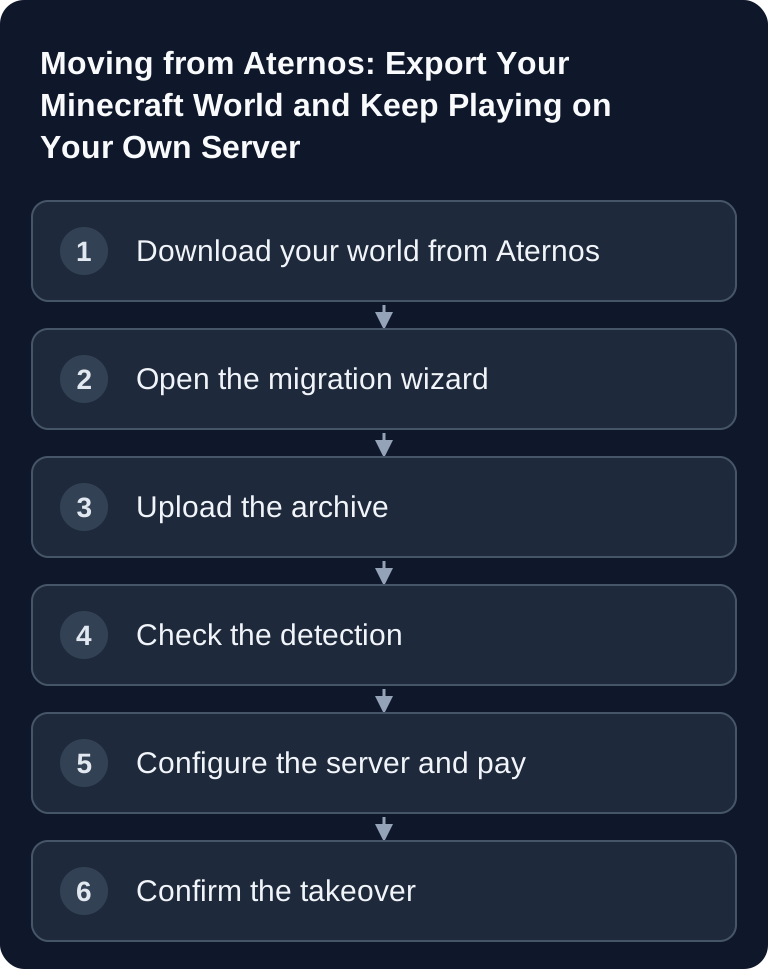
To move from Aternos to GSH, you export your world and then check the server version, dimensions, and extensions in the migration wizard. World files alone do not automatically carry over operators, the whitelist, and every plugin configuration. Keep your previous server ready as a fallback until the new setup has been verified.
What Changes After the Move
| Point | Aternos | game-serverhosting |
|---|---|---|
| Uptime | Shuts down when idle, restart via the web interface | Runs around the clock as long as your contract runs – no sleep mode |
| Start and provisioning | A start queue is possible when capacity is busy | Provisioning after payment; installation and available capacity determine the wait time |
| Address | Assigned Aternos address | Your own custom subdomain with a live availability check |
| Bedrock crossplay | Manually via plugin | Geyser and Floodgate on supported Paper stacks; not suitable for every modpack |
| Ads | Yes | None |
| Cost | Free | Monthly plan depending on RAM, payment via Stripe or credit |
The price depends on the RAM you choose; the wizard shows it in step 5 before payment.
Preparation: What the World ZIP Contains – and What It Doesn't
The ZIP from the Aternos world overview contains the world folder: regions, player data, level data. As a rule, it does not contain:
- the server settings (
server.properties), such as difficulty, view distance, PvP, - the operator list, the whitelist, and banned players,
- plugins or mods as files.
The migration wizard detects plugins and mods if they are in the archive and shows them in the detection results. Whatever it doesn't find, you add in the panel after the move – the plugin manager of your new server installs the common plugins with one click. So before exporting, note down what is running on the Aternos server.
Important: Stop the Aternos server before you download the world. That way you avoid new progress being made on the old server after your export.
Moving in Six Steps
1. Download your world from Aternos
Open the world overview of your Aternos server and download the active world as a ZIP. If you have several worlds (Overworld, Nether, End as separate folders), download all of them; the wizard detects them individually.
2. Open the migration wizard
Use the Aternos entry point. This pre-selects the game (Minecraft Java) and the import method (upload). You need an account for the order; you can create it right in the flow, also via Google or Discord login.
3. Upload the archive
Select the ZIP. Wait until the upload has fully finished. The wizard shows the upper limit for a direct upload; larger worlds can alternatively be handed over via SFTP or a download link.
4. Check the detection
After the upload, the wizard analyzes the archive: edition, Minecraft version, server software (Vanilla, Paper, Fabric, Forge …), and any plugins or mods found. It sorts the extensions found into importable, convertible, and unsupported. Anything classed as unsupported will not run on the new server and needs a replacement – better to know that now than after payment.
5. Configure the server and pay
Set the server software (such as Paper or Fabric), RAM, server name, and subdomain. The wizard suggests the RAM based on the detection – for Minecraft Java 4 GB, more for many mods or players; you can adjust it. Payment is made via Stripe or from your credit. The server is then provisioned automatically and the world is installed – large worlds and installations can take longer.
6. Confirm the takeover
As soon as the server is running, the wizard checks whether joining is possible and shows you “Ready for takeover”. Connect, look around, and then confirm the takeover. Only then is the move considered complete. Until then, your Aternos server remains unchanged – so you always have a way back.
After the Move
- Share the address: Java players connect via your subdomain. Bedrock players (mobile, console, Windows Edition) use the same subdomain with the Bedrock port from your panel –
19132is only the Geyser default, not automatically your assignment. On a supported Paper stack, check the Geyser/Floodgate status in the panel. Java modpacks are not universally Bedrock-compatible. Details: Setting Up Bedrock Crossplay. - Carry over settings: You re-enter operators, the whitelist, and server properties in the panel.
- Reinstall plugins: Anything the detection did not find, you install via the plugin manager.
- Create a backup: After the first successful start, create a backup – in addition, keep the original world ZIP and the Aternos state until you have verified the move.
FAQ
Can I bring over more worlds later?
Yes. How to upload or switch a world on an existing server is shown in the guide Uploading & Switching a Minecraft World.
What happens to my Aternos server?
Nothing. The move only reads the archive you upload. Whether to delete or keep it is up to you.
What if the detection classifies a plugin as unsupported?
It will not be installed. Look in the plugin manager for a current version or an alternative – the server also starts without the plugin.
Sources and Status
Checked on 08.09.2026. Aternos describes the world download, the start queue, and the different storage of the Nether and End. If you switch server software, also check these dimension folders. Our import steps refer to the current migration wizard; the detection does not replace your own join and world check.
Ready? Go to the migration wizard.
Confirming the First Takeover with Known Checkpoints
Before exporting, note a known base, Nether portal, End area, and a player's inventory state. After the import, check exactly these points as well as the correct Minecraft version. If only one dimension is missing, check the archive structure and the expected world folder before regenerating. Check permissions, whitelist, and plugins separately, because they do not necessarily have to be fully contained in the world export. Only let friends resume regular play after this check. If you keep the Aternos state unchanged, you can export cleanly again in case of a faulty takeover and correct the import in a targeted way.