Last checked: September 25, 2026 with SCP: Secret Laboratory 14.2.7 (05/30/2026), LabAPI 1.1.7 and EXILED 9.14.2.
You set up an SCP-SL server in three separate checks: direct connection, Remote Admin with the correct platform ID, and then matching plugins. A public listing additionally requires Northwood's verification. Keep this step separate from technical reachability.
The official Northwood guide to dedicated server setup covers the technical requirements and the separate path to public verification.
What Is SCP: Secret Laboratory?
SCP: Secret Laboratory is a free multiplayer horror shooter by Northwood Studios based on the SCP universe. Players take on different roles: SCPs hunt other players, Foundation personnel try to secure the facility, Chaos Insurgents pursue their own goals and Class-D personnel fight to escape.
For your own servers, Northwood provides a dedicated server package. The official Steam documentation for the dedicated server describes, among other things, installation, configuration files and typical operating parameters: Techwiki by Northwood Studios. Use primary sources like this especially when you want to double-check options after a game update.
If you are also planning other co-op or survival servers, the internal guides on renting a Minecraft server and renting and setting up a Rust server are helpful, as they cover similar decisions about slots, access, updates and administration.
Requirements
You need a valid SCP: Secret Laboratory installation in the Steam client, access to your game-serverhosting panel and, for admin rights, the SteamID64 or Discord ID of the respective person. For public servers, you should also clarify in advance whether name, rules, moderation and visibility fit the Northwood server list.
For private sessions, the direct connection is usually enough. Public servers need more care: a unique server name, moderation roles, stable rules, backups before configuration changes and a look at the logs after every major update.
Order the Server and Test the First Connection
Select SCP: Secret Laboratory in the order wizard and order the desired slot size. Small private sessions often get by with fewer slots; public servers need active moderation in addition to resources. Avoid fixed performance promises until you have tested your actual player count, plugins and map rotation.
After provisioning, you will find the IP and port in the dashboard. The default port of SCP-SL is 7777, and only UDP (you don't need to open TCP); your actually assigned port may differ, though. The connection details in the panel are always authoritative.
Players connect via:
- Direct connection in the game:
Servers -> Internet -> Direct Connect -> IP:Port - Public server list: only for servers verified by Northwood (see FAQ)
Check the direct connection first before working on plugins or public visibility. This way you separate network and configuration problems from later plugin errors.
Configuration in the Panel
In the server panel under Settings, you use the guided configuration editor. There you set the server name, friendly fire, contact email, Pastebin ID, admin permissions and the released gameplay options. The player limit is not a free editor field: the start wrapper sets it from the booked slots. You choose a different slot tier via the offered package change. Changes are written to the matching config file; a backup before changes is a good idea, especially for larger adjustments.
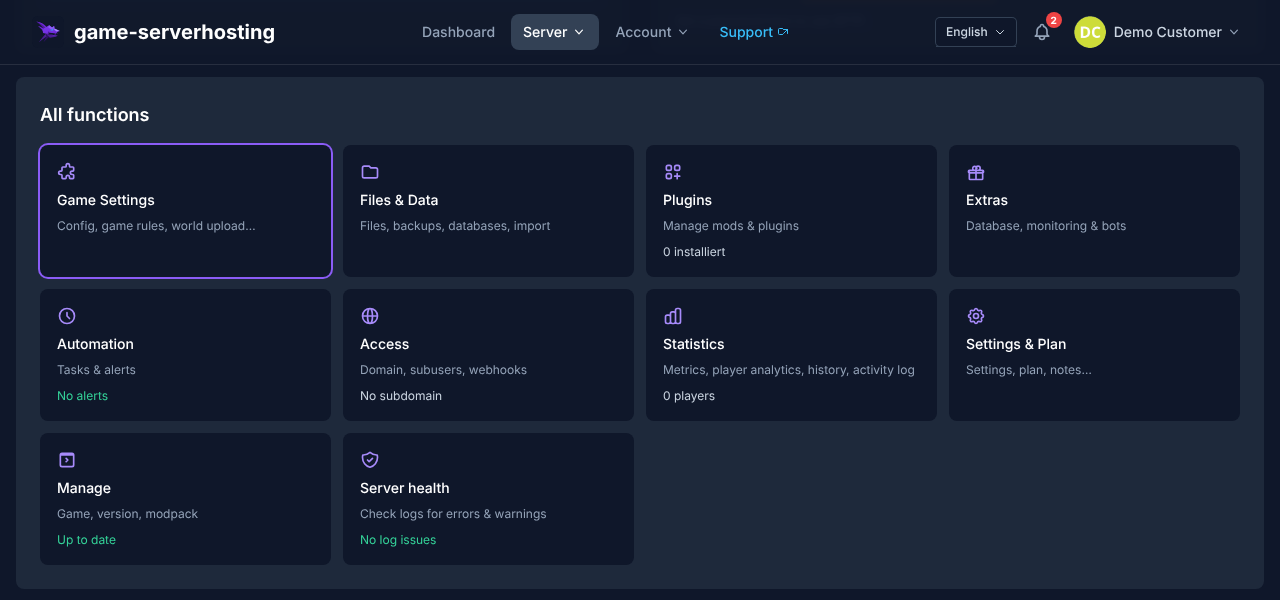
If you prefer working directly in files, you will find the gameplay settings in config_gameplay.txt and the Remote Admin configuration in config_remoteadmin.txt. They are located under .config/SCP Secret Laboratory/config/<Port>/; the port number in the path must match your server. Edit them via the file manager. Restart the server afterwards so the changes load cleanly.
Set Up Remote Admin
Remote Admin is SCP-SL's built-in admin tool. With it, admins can observe running rounds, kick or ban players, perform teleports and, depending on permissions, influence game states.
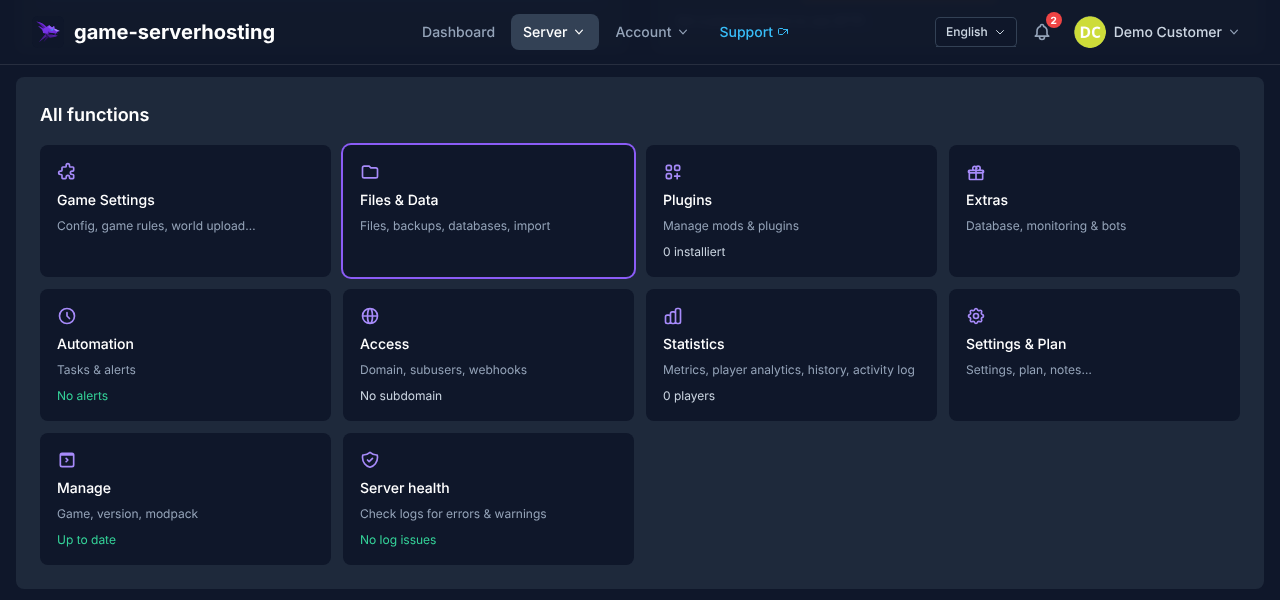
The easiest way to assign permissions is in the panel under Settings in the Administration section. Click Add Admin, enter the SteamID64 or Discord ID and choose a role such as Owner, Admin or Moderator.
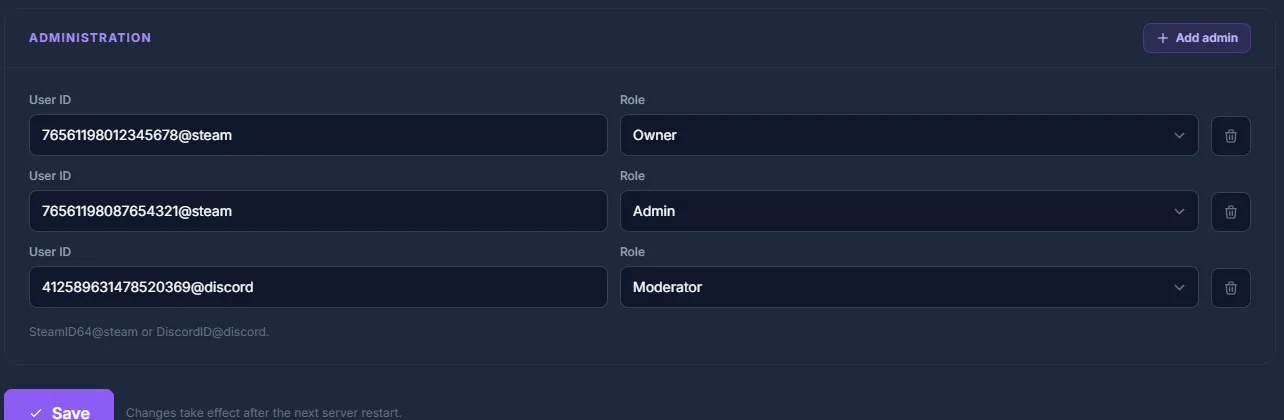
Manually, admins are listed in config_remoteadmin.txt in the Members: list:
Members:
 - 76561198012345678@steam: owner
 - 76561198087654321@steam: admin
 - 412589631478520369@discord: moderator
Each line follows the pattern UserID@platform: role. The platform is @steam for a SteamID64 or @discord for a Discord user ID. You can find your SteamID64 via the documentation at steamid.io by pasting your Steam profile.
Permission Flags
| Permission Node | Description |
|---|---|
KickingAndShortTermBanning |
Kick and short bans |
BanningUpToDay / LongTermBanning |
Bans up to one day / permanent |
ForceclassSelf |
Change your own class |
GameplayData |
View game variables |
ServerConsoleCommands |
Run console commands |
Noclip |
Fly through walls |
There are 29 permission nodes in total; the roles owner, admin and moderator bundle them.
Assign permissions sparingly. For everyday moderation, a moderator role is often enough; owner or administrator rights should only go to people who reliably manage configuration and server rules.
One-Click Plugins with LabAPI
Since version 14.1, LabAPI is the only official plugin loader of SCP: Secret Laboratory; the older NwPluginAPI has been archived since June 2025. Manually installed plugins belong in SCP Secret Laboratory/LabAPI/plugins, pure libraries in LabAPI/dependencies. At game-serverhosting, you install plugins from the official
LabAPI catalog directly in the dashboard with one click — without
file uploads and without SFTP.
Install a LabAPI Plugin
- Open your SCP-SL server in the dashboard and switch to the Plugins section
- Search for the desired plugin in the official LabAPI catalog
- Click Install — a restore point is created automatically before installation so you can bring back the previous state at any time
- Restart the server so LabAPI loads the plugin
LabAPI itself handles the version check: if a plugin doesn't match the installed LabAPI version, the loader doesn't load it and writes the reason to the server log.
Plugins are not updated automatically — you install new versions deliberately via the same route.
Not every SCP-SL plugin is in the LabAPI catalog: plugins that require the older EXILED framework are not part of the one-click installation. How to set up EXILED and its plugins manually via the file manager is explained in the next section.
Plugins with EXILED
EXILED (EXtended In-runtime Library for External Development) is a community framework that builds on LabAPI and is actively maintained by the ExMod team (latest 9.14.2, May 2026); after a game update, it usually takes a few days until it loads again. It enables additional server features via .dll plugins. Before every installation, check that EXILED, the plugin and the SCP-SL server version fit together.
Install EXILED
- Download the matching EXILED version from GitHub: documentation at github.com
- Extract the
EXILED.tar.gz: you get the foldersEXILEDandSCP Secret Laboratory. Put both into the config directory (~/.configor%AppData%) - Restart the server so EXILED creates the folder structure, and then upload plugin DLLs to
EXILED/Plugins
Popular Plugin Types
| Plugin | Function |
|---|---|
AdminTools |
Extended admin commands (ExMod team) |
SCPStats |
Statistics, role and ban sync |
Plugins are placed as .dll files in EXILED/Plugins/. If a plugin doesn't start, first check the server logs and the release notes of the respective release.
Verify the Result
After setup, test four things: direct connection with IP and port, display of the correct server name, access to Remote Admin with the entered ID, and plugin loading in the log. If the server is meant to be public, also check the listing and whether name, rules and slot count appear correctly.
For more server concepts, you can find comparable administration and modding topics in the guides on renting a FiveM server and renting and setting up a Valheim server.
Troubleshooting
Server does not appear in the list
Check whether server_name, contact_email and serverinfo_pastebin_id are set and whether your server is verified by Northwood; unverified servers never appear in the list. Also test the direct connection to tell a pure listing problem apart from a connection problem.
Players can't connect
Use the port from the panel's connection details, not blindly the default port. SCP-SL typically uses UDP. At game-serverhosting, port assignment is panel-managed; if the direct connection fails, check the server status, logs and the spelling of IP:Port.
EXILED plugin doesn't start
Usually the plugin version, EXILED version or server version don't match. As a test, remove the most recently installed plugin, restart and read the error message in the log. Install plugins one at a time so you can clearly attribute errors.
Admin menu doesn't work
Check the SteamID64 or Discord ID, the platform suffix and the role in config_remoteadmin.txt. A restart is recommended after changes. If several admins are affected, the error is more likely in the syntax or role structure than in a single ID.
Separating Plugin Errors from Admin Problems
After a restart, first check a direct connection without new plugins. If it works, test Remote Admin with the entered ID and a role that has the permissions you actually need. Only then install an extension. If a plugin is missing in the log, check its loader and dependencies; missing admin rights do not cause this error. For EXILED or LabAPI problems, note the game, loader and plugin versions together. Remove only the most recently added component from the load path and restart. You don't need to reapply for public verification for this.
FAQ
How many players can an SCP-SL server have?
The actual limit depends on the server configuration, resources, game version and plugins. A fixed safe player limit can't be derived across the board; you should only use higher values after testing with your specific configuration.
Do I need to register with Northwood Studios?
Not for private direct connections. Only verified servers appear in the public server list: you set server_name, contact_email and serverinfo_pastebin_id, write to safety.compliance@scpslgame.com (IPv4, port, contact address) and sign the Community Server Guidelines (as of June 2026) via the link in the server console. Expect 3 to 7 business days; Northwood's verification rule at the time specified a maximum of 60 slots; this manufacturer limit is not a promise of a slot tier bookable at GSH. Before applying, check the current rules and your booked scope. According to the described state of the rules, verification is revoked after 14 days of offline time.
What is the difference between SCP-SL without plugins and EXILED?
Without plugins, the server runs closer to the base game. EXILED adds a plugin system with which you can add admin functions, balancing, statistics or roleplay mechanics, provided the respective plugins match the server version.
Where do I find my SteamID64?
You can find your SteamID64 via the documentation at steamid.io. Paste your Steam profile there and enter the SteamID64 in the form 765611...@steam into the Remote Admin configuration.
Do I have to edit configuration files manually?
No. The guided editor in the panel covers typical settings. Manual editing via config_gameplay.txt and config_remoteadmin.txt makes sense if you want to control values precisely or follow changes according to the official documentation.