You choose a Minecraft server based on edition, extensions and operating needs. This guide helps you before you order: Which type of server suits your group, which resources do you need to plan for, and which features should you compare? Setting up a server you have already ordered is covered in the separate step-by-step guide.
Decide on the Edition and Play Style First
Before ordering, write down the edition, platform and desired Minecraft version for every player. Java modpacks require the matching client instance with the intended loader; a regular Bedrock client cannot play these modpacks through crossplay alone. For plugins, you choose supported Java server software such as Paper; Geyser is only added if your specific setup supports Bedrock joins.
| Plan | What you should clarify before ordering |
|---|---|
| Shared vanilla world | Edition, version, expected concurrent players and the state of any existing world |
| Server with plugins | Supported server software, plugin versions and required permission management |
| Modpack | Exact pack name, pack version, mod loader and the pack's requirements |
| Java and Bedrock together | Whether the chosen setup supports crossplay and which clients will take part |
A plugin and a mod are not interchangeable extensions. First decide on the scope of gameplay you want, then choose the server software that fits it.
Choose Resources Based on Load, Not Just Player Count
Player count alone does not determine RAM requirements. View distance, newly generated chunks, entities, farms and extensions all change the load. For a modpack, you should take its documented requirements as a starting point. Plan some headroom and check the real utilization after launch.
More RAM does not automatically fix every delay. What matters is whether memory, compute time, world generation or a plugin is causing the load. Use the Minecraft RAM calculator for planning; the results are guidance, not a performance guarantee.
Free, Self-Hosted or Rented?
Free hosting can work for a small group or a test. In particular, check inactivity rules, available extensions and whether you can export your world. When hosting on your own computer, you additionally take on responsibility for availability, networking and running hardware.
A paid server becomes interesting when your requirements go beyond what free hosting offers. Compare free and paid hosting based on your specific plans.
These Features Belong on Your Comparison List
- Total cost and term: The displayed total price for the chosen configuration is what matters.
- World access: Check upload, download and a later switch of provider.
- Backups: Clarify backup scope, retention and restoration.
- Extensions: Check the software and pack version that are actually supported.
- Management: Clarify who gets access to the console, configuration and permissions.
- Support: Check which problems are covered and which changes you are responsible for yourself.
A blanket promise such as “lag-free for any number of players” is not a reliable basis for planning. Write down your group's requirements and compare offers against them.
Make Your Decision and Set Up Afterwards
You can find currently available configurations and prices on the Minecraft server rental page. The features shown there and at checkout are authoritative.
After provisioning, continue with first start, server.properties and connection test. You should back up existing worlds before uploading, switching versions or changing extensions.
Sources and Limitations
- Minecraft: Download the Java server
- PaperMC: Getting Started
- Geyser: Setup and supported configurations
Requirements change with versions, world and extensions. This comparison is not a substitute for a load test and deliberately gives no fixed capacity guarantee.
Vanilla: view an example
Our own captures from a demonstration environment. The version and setup shown may differ from your server.
- Vanilla: the original Java game.
- A snowy mountain landscape at sunset.
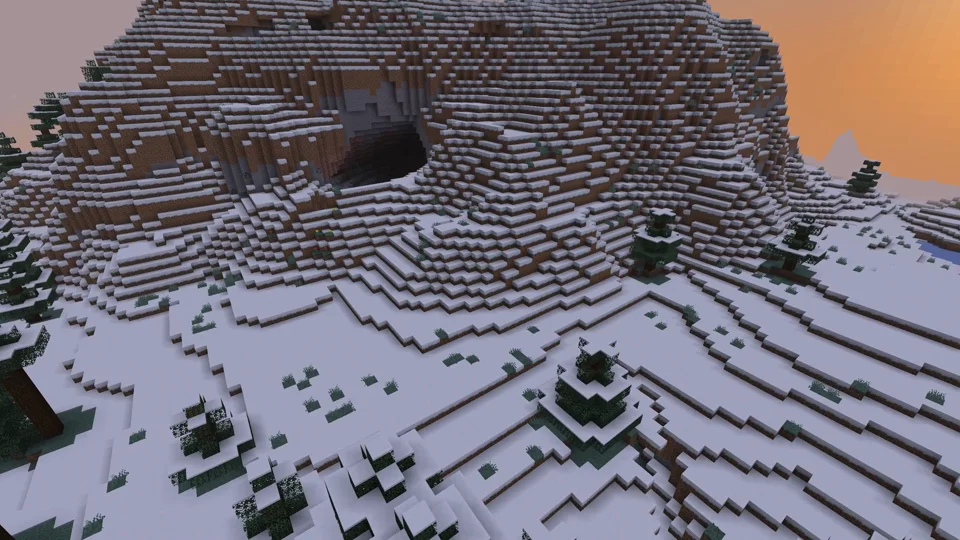
Java Edition
Paper: view an example
Our own captures from a demonstration environment. The version and setup shown may differ from your server.
- Paper: Java Minecraft with plugins.
- WorldEdit: a golden pyramid and glass dome.
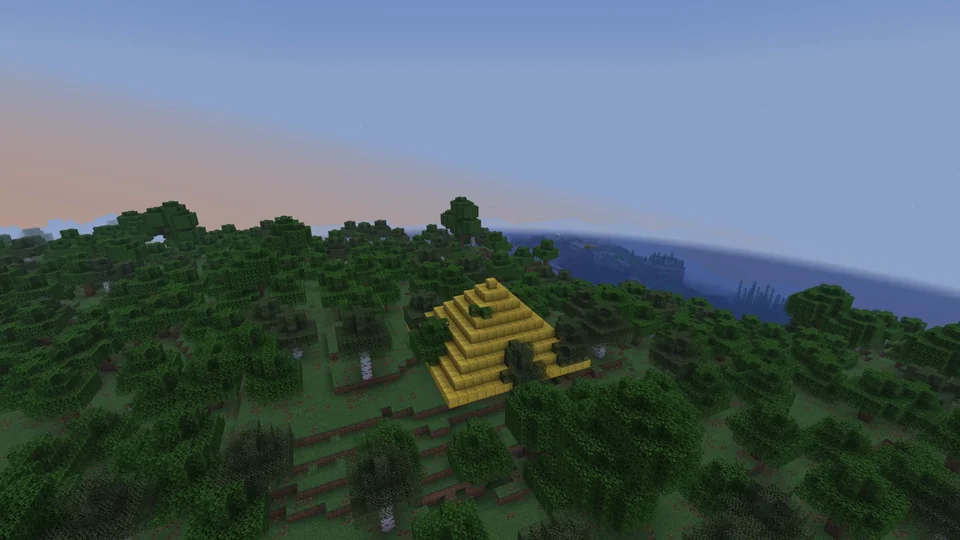
Paper / WorldEdit 7.3.16
Purpur: view an example
Our own captures from a demonstration environment. The version and setup shown may differ from your server.
- Purpur: more server settings.
- Phantom riding enabled for this demo.
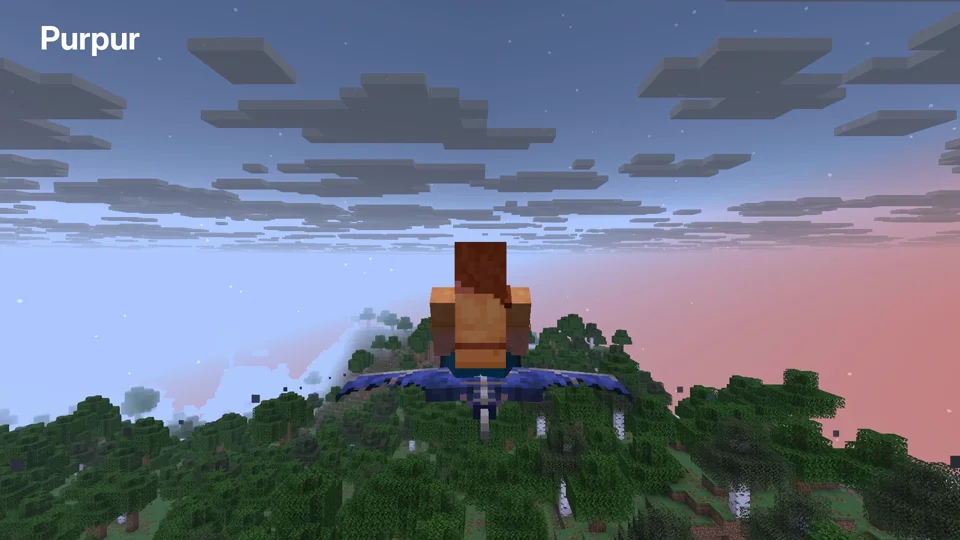
Purpur 1.21.6; phantom riding enabled
Fabric: view an example
Our own captures from a demonstration environment. The version and setup shown may differ from your server.
- Fabric: mods such as Cobblemon. Your client needs matching versions and mods.
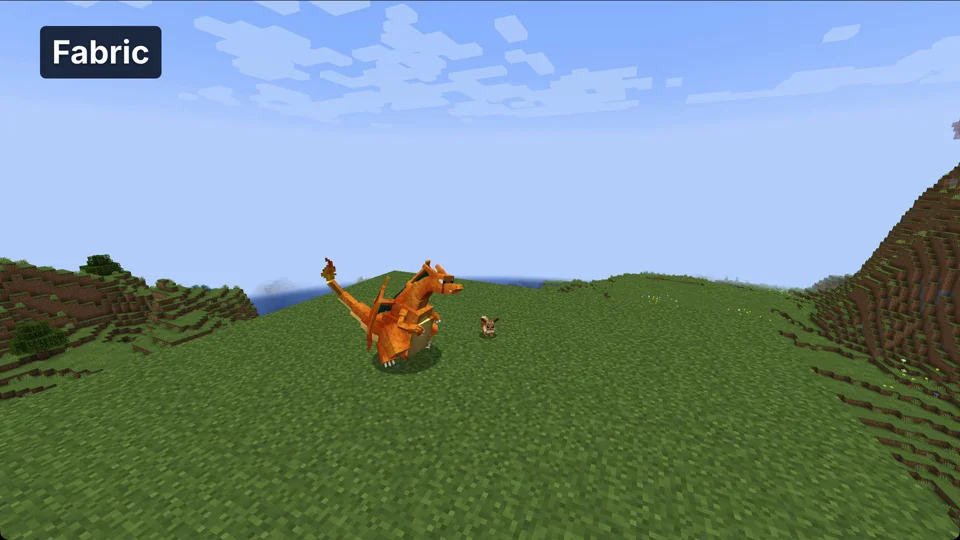
Minecraft 1.21.1 / Cobblemon 1.8.1 / Fabric API 0.116.17
NeoForge: view an example
Our own captures from a demonstration environment. The version and setup shown may differ from your server.
- NeoForge: technical mods such as Create. Your client needs matching mods.
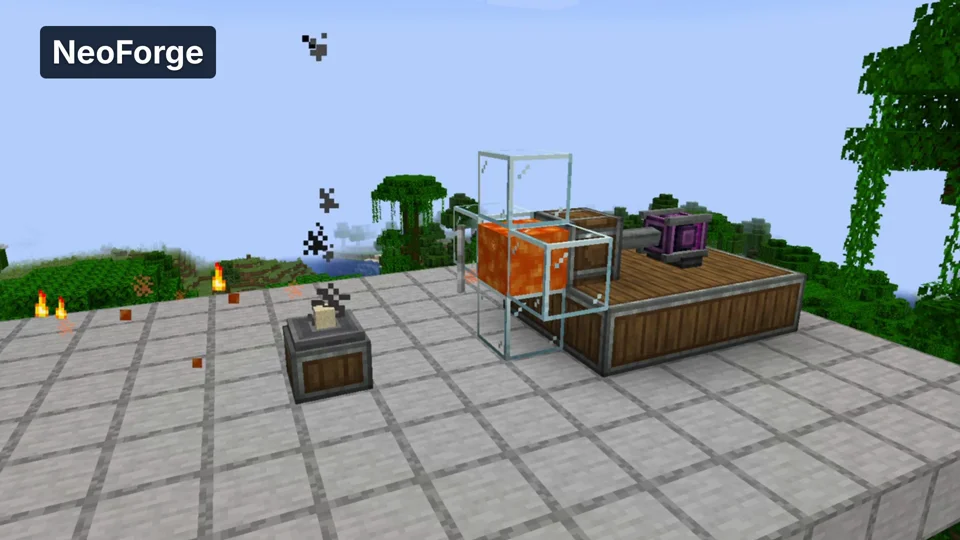
Minecraft 1.21.1 / Create 6.0.10
Velocity: view an example
Our own captures from a demonstration environment. The version and setup shown may differ from your server.
- Velocity: a proxy connects multiple Java servers. Here we move from the lobby to the second world.
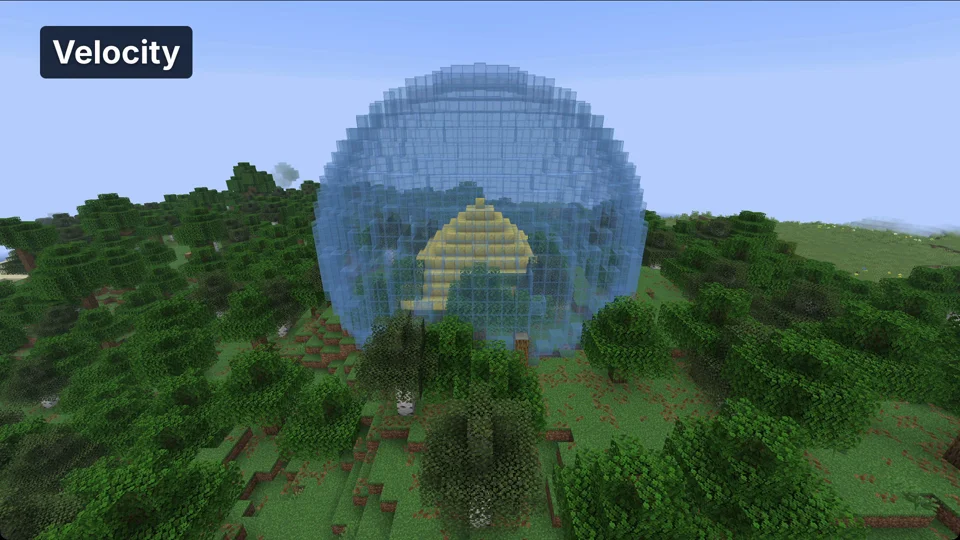
Java Minecraft 1.21.6; proxy world switch