किराए पर लिया गया Minecraft Server तब फायदेमंद होता है जब तुम Java या Bedrock खिलाड़ियों को नियंत्रित सेटिंग्स वाली हमेशा उपलब्ध दुनिया देना चाहते हो। game-serverhosting पर तुम इसके लिए RAM, subdomain, ports, server.properties और support access को एक ही जगह सेट करते हो, बिना अपने घर के इंटरनेट कनेक्शन या निजी कंप्यूटर को server के रूप में चलाए।
आवश्यकताएं
तुम्हें एक वैध Minecraft Java Edition या Bedrock Edition, खिलाड़ियों की संख्या, गेम मोड और इच्छित extensions की स्पष्ट योजना, और game-serverhosting पर एक उपयुक्त server चाहिए। प्लान मौजूदा configuration और अवधि के आधार पर अलग-अलग शुरू होते हैं; निर्णायक कीमत order process में दिखने वाली final price होती है।
Java खिलाड़ियों के लिए standard port 25565 महत्वपूर्ण है। Supported Geyser setup के जरिए Bedrock connections के लिए dashboard में assigned UDP port निर्णायक होता है; 19132 सिर्फ Geyser standard है। अगर तुम mods, बड़ी worlds, कई Redstone machines या कई plugins प्लान कर रहे हो, तो RAM को conservative तरीके से चुनना चाहिए और बाद में real usage के आधार पर adjust करना चाहिए।
आधिकारिक primary source: Mojang Minecraft server download page पर Java server start को उदाहरण के तौर पर java -Xmx4G -Xms4G -jar minecraft_server.{0}.jar nogui के साथ समझाता है और वहीं Minecraft End User License Agreement और Privacy Policy का संदर्भ देता है: minecraft.net पर documentation। Bedrock Dedicated Server के लिए Microsoft server.properties के जरिए configuration document करता है: learn.microsoft.com पर documentation।
चरण 1: Server ऑर्डर करना
game-serverhosting पर अपना Minecraft plan, इच्छित RAM size और subdomain चुनो। Subdomain बाद में वह address होगी जो तुम अपने साथियों को दोगे। इस address का एक उदाहरण ऐसा दिखता है:
tumhara-naam.gs.game-serverhosting.com
RAM की planning सिर्फ मौजूदा player count के हिसाब से नहीं, बल्कि playstyle के हिसाब से करो। Mods के बिना एक छोटी survival group को कई chunks, farms और plugins वाले modified server की तुलना में कम reserve चाहिए। अगर तुम Minecraft के अलावा दूसरे survival games की तुलना कर रहे हो, तो तुम्हें ऐसी ही planning questions co-op groups के लिए Valheim Server guide और ARK Server beginner guide में मिलेंगी।
चरण 2: Basic configuration जांचना
Order के बाद तुम्हारा Minecraft Server order process पूरा होते ही automatically set up हो जाता है। Panel में पहले address, ports, start status और console जांचो। Dashboard में दिखाए गए connection values महत्वपूर्ण रहते हैं:
| विशेषता | मान |
|---|---|
| Java Port | 25565 |
| Bedrock Port | 19132 (Geyser) |
| RCON | अपने आप configured |
| EULA | अपने आप accepted |
Geyser और Floodgate Bedrock खिलाड़ियों को Java-oriented server setup तक access देते हैं, बशर्ते ये components तुम्हारे setup में active हों। फिर भी crossplay को configuration point की तरह treat करो: versions, plugins और login behavior को compatible होना चाहिए। अगर Bedrock खिलाड़ी join नहीं कर पा रहे हैं, तो पहले port, server version, Geyser/Floodgate status और console में error message जांचो।
चरण 3: RAM और game scope तय करना
नीचे दी गई planning table practical orientation है, लेकिन कोई guaranteed performance promise नहीं। Real load version, world size, simulation distance, plugins, mods, farms और player activity पर निर्भर करता है।
| खिलाड़ियों की संख्या | सुझाई गई RAM | Mods के साथ सुझाव |
|---|---|---|
| 1-5 खिलाड़ी | 2 GB | 4 GB |
| 5-10 खिलाड़ी | 4 GB | 6 GB |
| 10-20 खिलाड़ी | 6 GB | 8 GB |
| 20+ खिलाड़ी | 8 GB+ | 12 GB+ |
Vanilla या Paper के लिए, अगर plugin list बड़ी नहीं है, तो आम तौर पर Modpacks की तुलना में कम reserve काफी होता है। अगर बाद में तुम्हें लगे कि chunks धीरे load हो रहे हैं, TPS गिर रही है या garbage collection pauses आ रहे हैं, तो blindly सिर्फ RAM मत बढ़ाओ। पहले view distance, plugins, world generation और active farms जांचो।
चरण 4: server.properties को सही ढंग से set करना
server.properties file central server options control करती है। कुछ ही सोची-समझी settings से शुरू करो और एक साथ दस चीज़ें मत बदलो, ताकि errors को identify कर सको।
max-players=20
difficulty=normal
view-distance=10
spawn-protection=16
pvp=true
max-players को RAM और community size से match करना चाहिए। difficulty playstyle को प्रभावित करता है, view-distance directly server load पर असर डालता है, spawn-protection spawn area को protect करता है और pvp तय करता है कि खिलाड़ी एक-दूसरे को damage दे सकते हैं या नहीं। Version-dependent properties के लिए अपनी सच में इस्तेमाल की जा रही Minecraft version की documentation देखो; server.properties releases के बीच बदल सकती है।
server.properties में motd line तुम्हारी server list entry तय करती है। तुम इसे free Minecraft MOTD Generator से रंगीन बना सकते हो।
चरण 5: Connect करना और result जांचना
Minecraft Java Edition खोलो, “Multiplayer” में जाओ, “Add Server” चुनो और अपनी subdomain डालो:
tumhara-naam.gs.game-serverhosting.com
Bedrock में तुम server address और Bedrock port डालते हो, अगर तुम्हारा setup Geyser के जरिए Bedrock access देता है। उसके बाद सिर्फ यह मत जांचो कि join काम करता है या नहीं। यह भी control करो कि spawn point, gamemode, difficulty, PvP, operator rights, whitelist या allowlist और chat योजना के अनुसार काम कर रहे हैं या नहीं।
एक अच्छी पहली जांच पांच मिनट की real usage से होती है: एक player join करता है, spawn से दूर चलता है, नए chunks load करता है, एक block तोड़ता है, chat में लिखता है और फिर server छोड़ता है। साथ-साथ console, RAM usage और warnings देखते रहो। जब यह simple round साफ़ चले, तभी plugins, mods या बड़े community access जोड़ो।
Performance tips
अगर तुम्हें plugin support और extra performance options चाहिए, तो Vanilla की जगह Paper या Purpur इस्तेमाल करो। view-distance को unnecessary high रखने की बजाय 8-10 पर रखना बेहतर है। बहुत high view distances noticeably ज्यादा chunks active रखते हैं; इसलिए अपनी इस्तेमाल की गई version के documented standard से शुरू करो और सिर्फ load test के बाद बढ़ाओ। World को pre-generate करने के लिए Chunky जैसे plugins इस्तेमाल करो, ताकि नए areas gameplay के दौरान generate न करने पड़ें। अगर तुम lag sources को traceably ढूंढना चाहते हो, तो Spark Profiler activate करो।
PvP या survival communities के लिए clear operations processes performance जितने ही important हैं: operator कौन हो सकता है, backups कब check होंगे, plugin updates कब install होंगे और group errors कैसे report करेगा? अगर तुम ज्यादा competitive survival experience ढूंढ रहे हो, तो requirements की तुलना Rust Server Setup से कर सकते हो। ज्यादा rules और roles वाली roleplay structures के लिए FiveM Roleplay Guide भी organizational comparison के तौर पर useful है।
Troubleshooting
अगर Java खिलाड़ी connect नहीं कर पा रहे हैं, तो server address, port 25565, server status और Minecraft version जांचो। अगर Bedrock खिलाड़ी fail हो रहे हैं, तो इसके अलावा port 19132, Geyser, Floodgate और Bedrock version जांचो। अगर world lag कर रही है, तो पहले view-distance कम करो, TPS observe करो और नए plugins के बिना test करो। अगर खिलाड़ियों के पास rights नहीं हैं, तो operator list, whitelist या allowlist और plugin permissions जांचो। अगर server.properties में changes apply नहीं हो रहे हैं, तो file save करो, server restart करो और check करो कि panel ने change सच में apply किया है या नहीं।
Sources और checking basis
Linked subpages उस technical basis को support करती हैं जिसे ठीक उनके पहले या बाद explain किया गया है। Product prices और account functions को additionally current visible order या dashboard path के against check किया जाता है।
Limits और rollback path
Prices और available server types बदल सकते हैं; checkout निर्णायक है। RAM tables starting values हैं, capacity guarantee नहीं। Crossplay सिर्फ उसके लिए designated server types और dashboard में दिखाए गए UDP port के साथ लागू होता है। Changes से पहले affected files या world का backup लो। उसके बाद result को उसी version और test process से check करो; errors होने पर backup restore करो।
जांच, limits और safe rollback path
Guide “Minecraft Server किराए पर लेना और सेटअप करना – कम्प्लीट गाइड 2026” article में described server type और checking time पर visible version status के लिए valid है। Menu names, available versions, mod या plugin compatibility और needed resources updates के बाद अलग हो सकते हैं। इसलिए values को बिना check किए किसी दूसरे game, loader या server version पर apply मत करो।
World, savegame, configuration या extensions में changes से पहले affected files का backup बनाओ। उसके बाद सिर्फ एक related step बदलो और उसे उसी client और server version से check करो जिसके साथ तुम बाद में खेलना चाहते हो।
| Checkpoint | Expected result | Abort और rollback |
|---|---|---|
| Server start | Server बिना नए error message के operational state तक पहुंचता है। | Start errors पर change वापस लो और last backup restore करो। |
| Connection test | एक test account panel में दिखाए गए address से connect कर सकता है। | Version या connection errors पर version, port और permissions फिर से match करो। |
| Function test | जो function specifically बदला गया है, वह existing world या game data को damage किए बिना काम करता है। | Side effects पर server stop करो और backed-up files restore करो। |
एक successful single test performance या availability guarantee नहीं है। World size, mods, plugins, player count, network route और simultaneous load result को बदल सकते हैं। Version, change और test result document करो, ताकि बाद की deviations trace कर सको।
FAQ
क्या मैं Java और Bedrock खिलाड़ियों को एक ही server पर आने दे सकता हूं?
हां, अगर तुम्हारा setup Geyser और Floodgate को सही तरीके से इस्तेमाल करता है। Java primary server context रहता है, जबकि Bedrock खिलाड़ी crossplay components के जरिए connect करते हैं। Server को public share करने से पहले versions और ports जांचो।
मुझे अपने Minecraft Server के लिए कितनी RAM चाहिए?
1-5 खिलाड़ियों के लिए table mods के बिना 2 GB और mods के साथ 4 GB बताती है। 5-10 खिलाड़ियों के लिए 4 GB और 6 GB दिए गए हैं। इन values को starting point की तरह इस्तेमाल करो और real usage के बाद adjust करो।
मुझे कौन-सी server.properties पहले बदलनी चाहिए?
max-players, difficulty, view-distance, spawn-protection और pvp से शुरू करो। ये values player experience, load और moderation पर direct effect डालती हैं। इन्हें सोच-समझकर बदलो और हर बड़े step के बाद test करो।
मेरा server address private IP से बेहतर क्यों है?
dein-name.gs.game-serverhosting.com जैसी subdomain share करना आसान है और इससे तुम्हें अपनी private home network IP publish नहीं करनी पड़ती। इसके अलावा server इस बात से independent चलता है कि तुम्हारा अपना computer on है या नहीं।
Server start के बाद lag होने पर मैं क्या करूं?
पहले console, RAM usage, TPS, view distance और newly generated chunks जांचो। इसके बाद plugins या mods को एक-एक करके test करो। Spark जैसे tools concrete causes ढूंढने में मदद करते हैं, बजाय सिर्फ generally ज्यादा resources book करने के।
Vanilla: view an example
Our own captures from a demonstration environment. The version and setup shown may differ from your server.
- Vanilla: the original Java game.
- A snowy mountain landscape at sunset.
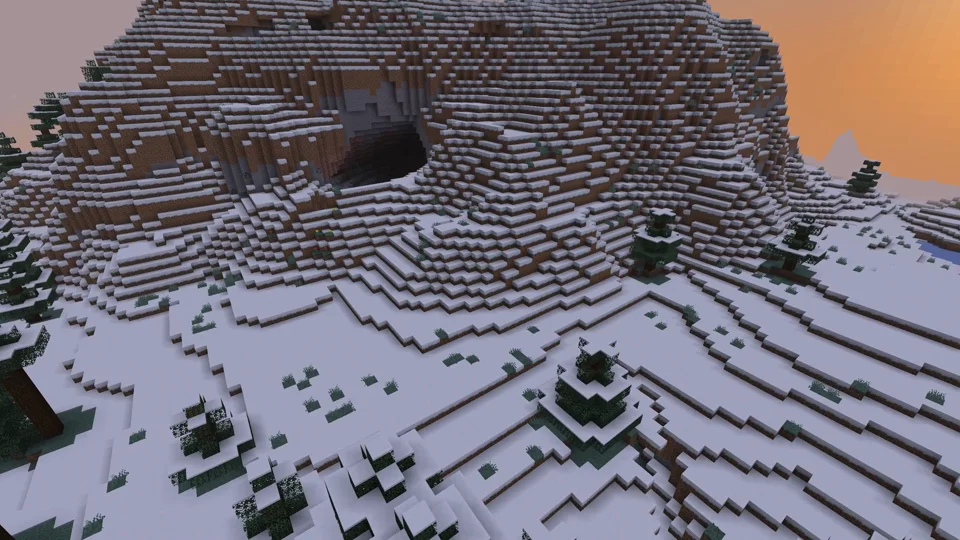
Java Edition
Paper: view an example
Our own captures from a demonstration environment. The version and setup shown may differ from your server.
- Paper: Java Minecraft with plugins.
- WorldEdit: a golden pyramid and glass dome.
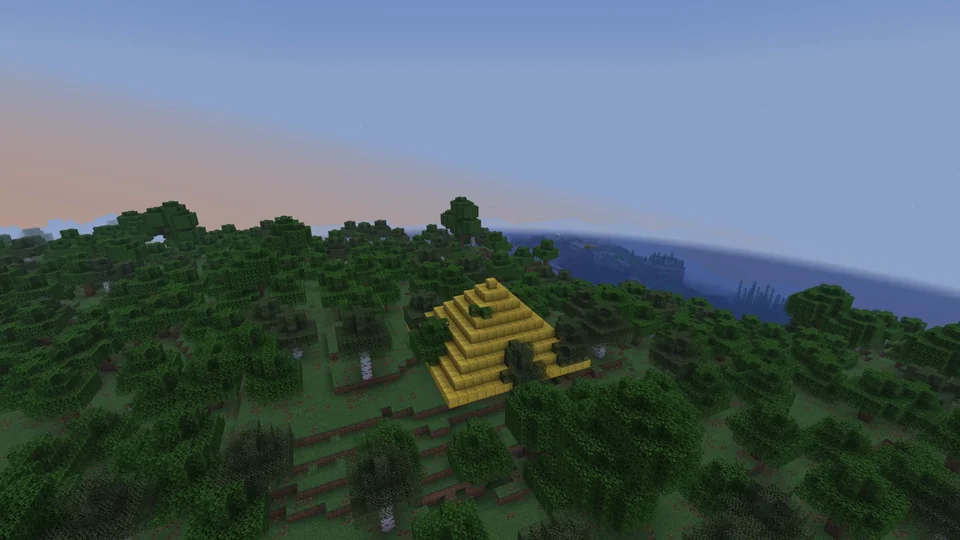
Paper / WorldEdit 7.3.16
Purpur: view an example
Our own captures from a demonstration environment. The version and setup shown may differ from your server.
- Purpur: more server settings.
- Phantom riding enabled for this demo.
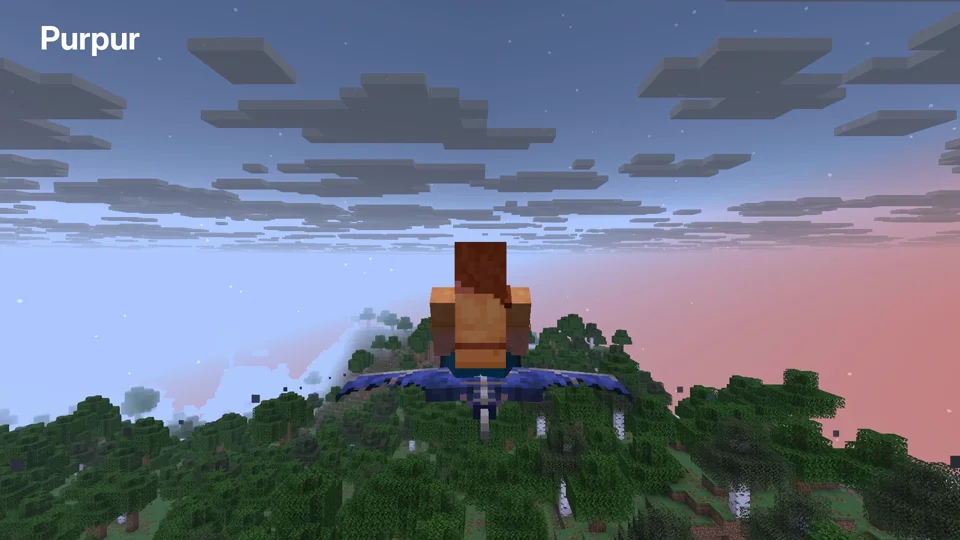
Purpur 1.21.6; phantom riding enabled
Fabric: view an example
Our own captures from a demonstration environment. The version and setup shown may differ from your server.
- Fabric: mods such as Cobblemon. Your client needs matching versions and mods.
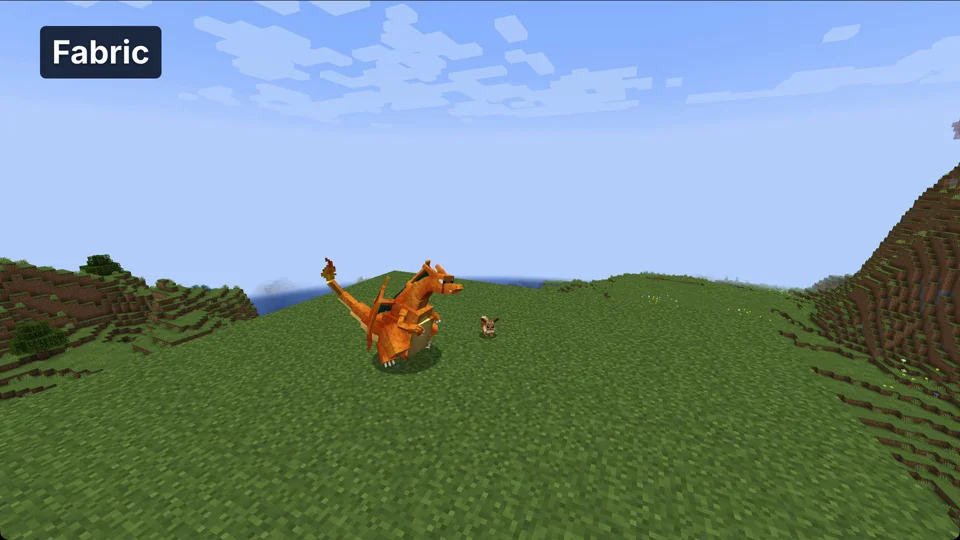
Minecraft 1.21.1 / Cobblemon 1.8.1 / Fabric API 0.116.17
NeoForge: view an example
Our own captures from a demonstration environment. The version and setup shown may differ from your server.
- NeoForge: technical mods such as Create. Your client needs matching mods.
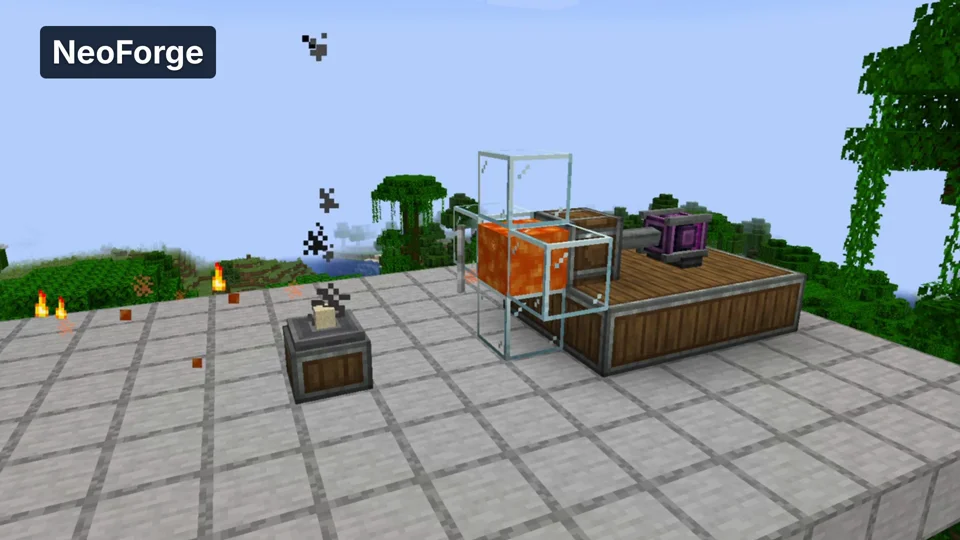
Minecraft 1.21.1 / Create 6.0.10
Velocity: view an example
Our own captures from a demonstration environment. The version and setup shown may differ from your server.
- Velocity: a proxy connects multiple Java servers. Here we move from the lobby to the second world.
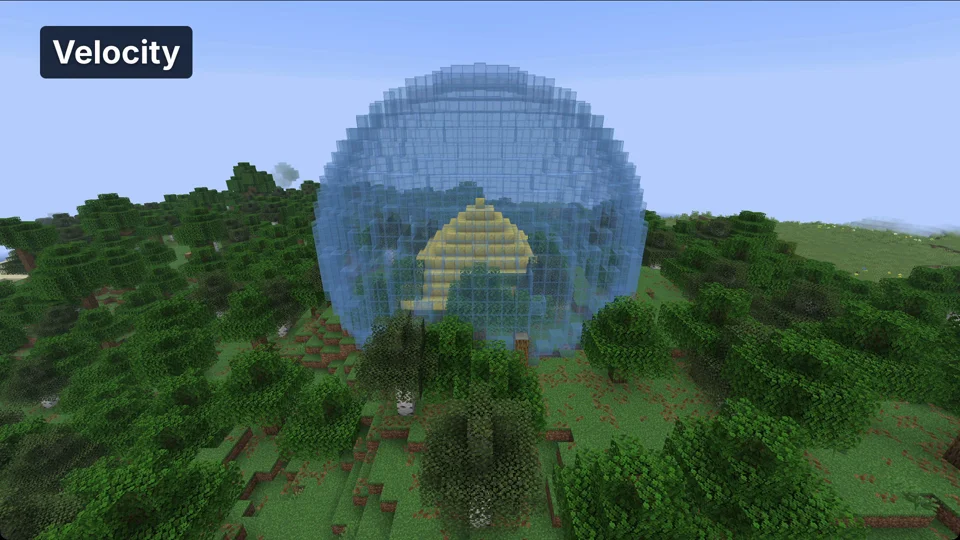
Java Minecraft 1.21.6; proxy world switch