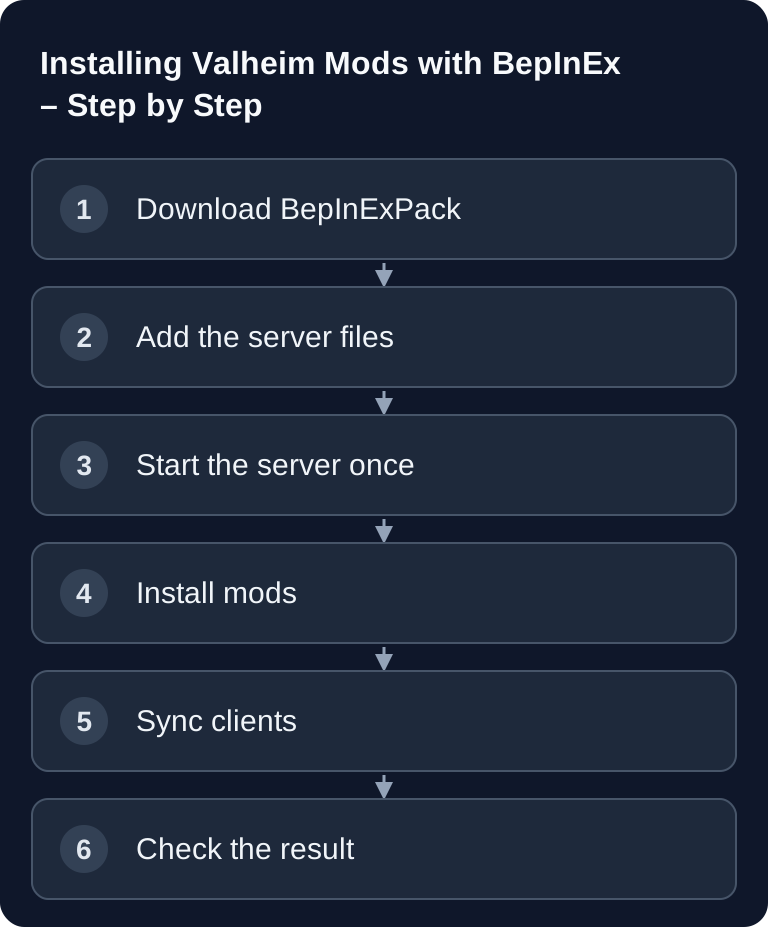
With BepInEx you can extend Valheim servers with mods, as long as the server files, client mods and versions all match properly. What matters is not just copying a DLL, but a controlled process: install the framework, start the server once, add mods deliberately, sync the clients and narrow down errors via logs or by disabling mods step by step.
Valheim 1.0
Valheim 1.0 has been released and still offers no official mod support. BepInEx and individual mods may break after the version jump; a package list is no proof of 1.0 compatibility. Back up your world and mod configuration, and if errors occur, start without mods first and enable only demonstrably compatible versions one after another. Consoles do not support mods at the 1.0 launch; for mixed crossplay groups, vanilla is the most reliable starting point.
Valheim 1.0 is here: Deep North, worlds and server update · Valheim 1.0: Safely checking the server update, old world and mods
What BepInEx Does in Valheim
BepInEx is a mod framework for Unity games. For Valheim, the BepInExPack Valheim is commonly used, which is provided on Thunderstore: Documentation at thunderstore.io. This project page is the primary source for the Valheim BepInEx package mentioned here.
BepInEx provides the folders in which Valheim mods are loaded and configured. Many mods consist of one or more DLL files that must be placed in BepInEx/plugins/. After the first server start, additional configuration files are usually generated in BepInEx/config/. Only change these files once the server has been started at least once with the framework installed.
If, besides mods, you also want to plan server basics, configuration and boss progression properly, the internal guide Rent a Valheim Server: Mods, Configuration & Boss Order 2026 is a good complement. For other Unity or mod framework setups, the comparison with Installing V Rising Mods with BepInEx Server Mods is also helpful.
Requirements
Before you begin, you need access to the Valheim server directory, the ability to restart the server and a clear mod list. With paid multi-game hosting like game-serverhosting, it is especially important that you apply changes in a traceable way: first a backup, then the framework, then individual mods, then a check. This preserves technical control, supportability and transparent operating procedures.
Also decide which mods run purely on the server side and which ones every player must install locally. Many Valheim mods require matching components on server and client; the labeling on the respective mod page is authoritative. Therefore check each mod's Thunderstore description before adding it to a shared modpack.
Installing BepInEx on the Server
- Stop the server and back up the world, the start file and any existing BepInEx configuration.
- Download the BepInExPack Valheim and choose the instructions for your server's operating system.
- Copy the actual pack contents to the level of the Valheim server file. Simply extracting a ZIP does not activate BepInEx on every system.
- Use the start method documented in the package and check in the BepInEx log that the loader was loaded. Only then do you install mods.
The target structure should then look like this:
/valheim/
├── BepInEx/
│   ├── config/          # Mod configurations
│   ├── plugins/         # Place mods here
│   └── patchers/
├── valheim_server.x86_64
└── start_server.sh
The level is what matters: the BepInEx/ folder belongs directly in the Valheim server directory, not in an additional subfolder from the ZIP archive. If no config or plugins structure is created after the restart, the error often lies right there.
Installing Mods
- Download mods from Thunderstore.
- Extract the DLL file into the
BepInEx/plugins/folder. - Restart the server.
Don't blindly install new mods in large bundles. A controlled approach makes more sense: add one mod, start the server, check the log, test the connection, and only then add the next mod. With multiple players, you should document the mod list with version numbers so that everyone uses the same foundation.
If a mod brings additional files or its own folders, follow the respective mod instructions. Not every mod consists of just a single DLL. Don't move configuration files arbitrarily between plugins and config; BepInEx and the mod itself expect specific paths.
Syncing Client Mods
Classify each mod according to the author's information: required on the client side, the server side or on both sides. A UI mod often belongs only on the client; a shared gameplay mod needs compatible components for everyone involved. If a mod manager distributes the client profile, it does not automatically take over the correct dedicated server setup.
Alternatively, you can use r2modman:
- Install r2modman.
- Select "Valheim" as the game.
- Browse and install mods with one click.
- Export your modpack as a code → share it with friends.
The practical advantage of a mod manager lies in syncing: all players can use the same profile instead of gathering DLLs manually. Still, you should stay cautious after updates. An updated client mod may be incompatible with an older server mod. Therefore record when you changed the modpack and which versions are active.
Recommended Mods
The following table shows common examples; check each mod for currency and dependencies before installing. It is not a performance guarantee and does not replace checking the respective mod page for compatibility, currency and required dependencies.
| Mod | Description | Client required? |
|---|---|---|
| ValheimPlus | Extensive adjustments | Yes |
| Better UI | Improved user interface | Yes |
| Plant Everything | Plant anywhere | Yes |
| Epic Loot | Rare items with properties | Yes |
| Better Wards | Improved ward stones | Yes |
Checking the Result
After installation, the server should start without crashing. First check whether BepInEx is loaded in the log and whether error messages about missing dependencies, wrong versions or DLLs not found appear. Then test with a client that uses the same mod selection.
In the game, you should specifically check one feature of each installed mod: UI change visible, new configuration option effective, new item present or expected behavior active. If everything works, back up the working mod list and the most important config files. That way you can trace later changes or roll back if problems occur.
Troubleshooting
Mod does not work
First check the BepInEx version, mod version and mod compatibility. Also check that the DLL really is in BepInEx/plugins/ and not accidentally in a doubly extracted subfolder. Read the mod page on Thunderstore, because many mods require additional dependencies.
Server crashes
Remove mods one at a time to find the culprit. Start with the most recently installed or most recently updated mod. Restart the server after every change and check the log. If the server starts without mods but crashes with a particular mod, the cause is usually a dependency, version or configuration.
Desync or connection problems
Make sure all players have the same mods in matching versions. Especially with mods that are required on the client, it is not enough to change only the server. An exported r2modman or Thunderstore profile reduces discrepancies and makes support cases easier to trace.
Config is not created
Start the server once with BepInEx and the respective mod installed. Many mods only write their config on the first successful load. If no file appears afterwards, the mod may not have been loaded, is in the wrong folder or is incompatible with the current environment.
FAQ
Does BepInEx have to be installed on both server and client?
For many Valheim mods, yes. If a mod is required on the client, the server and players need the same or a compatible version. Always check this on the respective mod page.
Can I install Valheim mods only through Thunderstore?
No, you can also place DLLs manually in BepInEx/plugins/. However, Thunderstore Mod Manager and r2modman make version syncing and distribution to other players easier.
Why does my server no longer start after a mod?
Common causes are wrong BepInEx versions, missing dependencies, incompatible mod versions or files in the wrong folder. Remove mods step by step and check the log after every restart.
Where are the mods' configurations located?
Many BepInEx mods generate their configuration in BepInEx/config/. The files often appear only after the first successful server start with the mod installed.
Should I install all mods at once?
Better not. Install mods one after another or in small groups so that you can clearly attribute errors. This saves time if the server crashes or clients cannot connect.