For a Minecraft map of a real place, you need generated or imported world files in the right format. A seed and a map view do not replace them. Start with a small section and known landmarks before you let a large server world be imported.
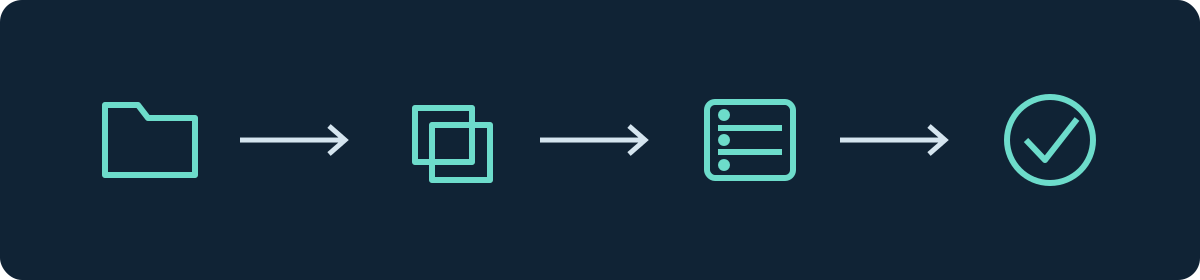
Telling apart seed, world file and map tool
A seed is an input for terrain generation. A saved world already contains generated areas and changes. A seed finder can search for generated structures in certain game versions; it does not automatically know about houses placed afterwards in an imported city map.
For your server, you ultimately need a world file in the right format. A screenshot of a map view or the coordinates of the real place do not replace this export. An installed web map also only displays a server; it does not automatically generate real architecture.
Start with a small project
First choose a limited area in which you know several landmarks. For example, you can use a river bend, a road triangle and a striking building as checkpoints. Write down which properties matter to you: terrain shape, roads, building outlines or playability.
A generator can only work from the available input data and its conversion rules. Missing map details are not reliably filled in by a larger section. For your first attempt, therefore, choose an easily recognizable area and check the result before you scale the project up.
Directly in the GSH panel: Real World from OpenStreetMap
For suitable Minecraft Java servers, game-serverhosting offers the Real World from OpenStreetMap feature. You search for a place in Europe, check the map section and have a world generated from it. The feature is intended for Java; a BDS server needs a matching Bedrock export via a different route.
- Back up the existing world and check whether your server offers the feature. The current version check requires a specifically detected Minecraft version from
1.21.4onward; the map section and free storage must also fit. - Open the Real World from OpenStreetMap feature on your server and search for your place. Check the offered area and the preview before you start generation.
- Check the target name and the notes on activation. Start a job and follow its status instead of requesting the same section several times at once.
- Wait for generation and import. Then check in the world management which world is active, and compare your landmarks in the game.
- After a clean restart, check that changes stay saved. Keep the previous save state as a way back.
When ordering a suitable Java server, a real city can also be selected as the starting world. You can see the specific availability, area and requirements in the respective form. A map preview is not yet an acceptance check of the finished Minecraft world.
External alternatives: Arnis and MapMC
Arnis is an open-source project for generating Minecraft worlds from real geodata. Check the current project instructions, supported output and the requirements of your build. A local workflow makes sense if you want to control settings and files yourself and can provide the necessary environment.
MapMC describes a hosted workflow and provides guides for Java and Bedrock output. Before using it, check the edition, version, export option and the terms that apply to your specific order. A general compatibility statement does not replace a test of the downloaded world.
MapMC is a standalone service. If you use an external generator or Arnis locally, you prepare the world outside the panel and then transfer the finished result. With the integrated GSH route, on the other hand, the job handles generation and import. Choose the workflow that suits your edition and your desired section.
Choose the right edition
For a Java server you need a Java world. For BDS you need a Bedrock world. A file extension can be changed, but the underlying data format cannot be changed that way.
If you can already generate the right output, that is usually the clearer route compared with converting later. If a world has to be converted, check the limits of the tool you use. For Chunker, Microsoft explicitly describes differences in transferable data. Do not assume without checking that player data and all entities will be preserved.
Accept locally and keep the original
Keep the unchanged export. Open a copy in the intended edition and a matching version. Compare your three landmarks and the transitions at the edge of the generated section. Check whether the spawn is reachable and whether the surroundings suit the desired game mode.
Note important coordinates together with the dimension. Real latitude and longitude are not automatically Minecraft X and Z values. Use the positions read in the game for later acceptance tests. If the place does not fit, correct the selection or generator settings in the source project before you replace a production server world.
Transfer it to the server
Back up the existing server state. Use a separate target name for the new map and keep the previous world available. Transfer the world using the guide Upload a Minecraft World. For Bedrock, follow the separate BDS import route.
After the switch, check the same landmarks as you did locally. Add a normal player account, permissions, world border and any required content. Test a small change after a clean stop and restart. If you are only choosing a server for the project now, match the edition and software against the Minecraft offer.
A city view alone says nothing about how well the map works as a survival world. Check resources, safe paths and desired game mechanics. Adapt your play plan to the actual result instead of assuming a photorealistic or complete recreation.
FAQ
Can I enter a normal Minecraft seed for this?
A seed does not reproduce a freely chosen real city plan. For this goal, use generated or existing world files.
Does a seed finder show the buildings of my imported city?
Not automatically. The buildings come from an edited world and do not have to follow the rules of seed generation.
What do I do if the server map looks wrong?
First compare the edition, version, active world and the same coordinates. If the local copy was already wrong, the correction starts at the export or generator.
Related guides
This guide in other languages
English · Español · Français · Nederlands · Português · Русский
Check the map section before enlarging it
Choose three known checkpoints, such as a road, a river and a striking building, and note their position in the generated section. Then check terrain, scale and actual walkability in Minecraft. Map data can contain missing building information or incomplete elevations; a larger section does not remove these limits. Back up the generated result before you select it as the active server world. Check the spawn point and paths for your group so that players do not start inside an inaccessible structure. A Bedrock conversion is a test of its own and must not automatically be considered a lossless transfer.