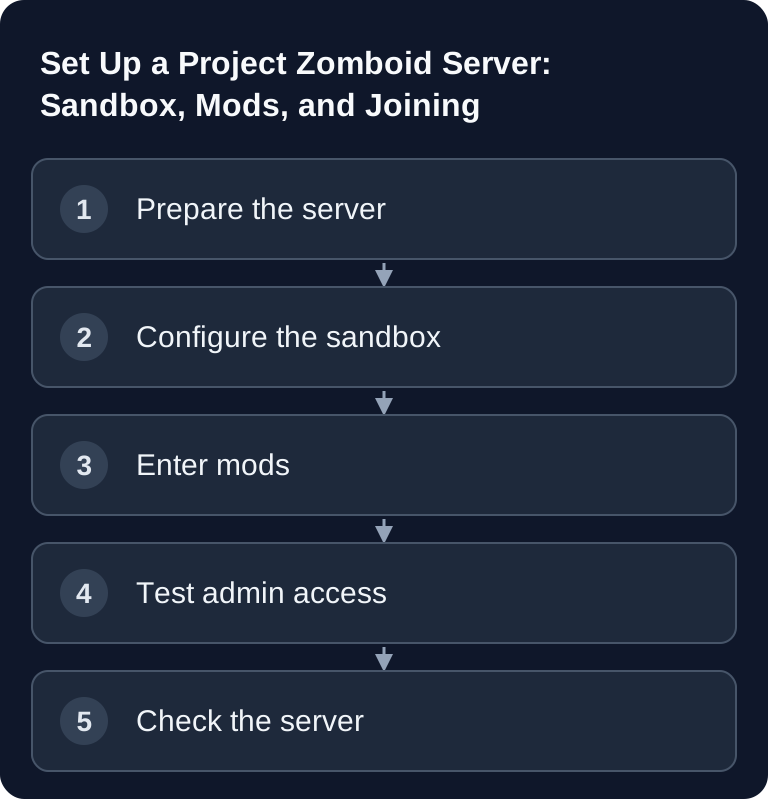
This guide is for you if your Project Zomboid server is already set up and available: first start vanilla and join, then change the sandbox rules, and finally add Workshop mods. Still looking for an offer? On the Project Zomboid rental page you'll find the current configuration and prices.
Requirements for the Setup
To get started, go to game-serverhosting and choose at least 4 GB RAM for Project Zomboid, as provided for in the initial setup. This figure is not a guarantee for every mod collection or player count, but a sensible minimum for a manageable group. Large maps, many Workshop mods and permanently active players increase the requirement.
Project Zomboid is especially configuration-heavy. So before your first play night, plan three things: a clear sandbox setup, a tested mod list and at least one admin account. If your group is also comparing other survival or co-op servers, the Valheim Co-op Guide 2026 and the 7 Days to Die Multiplayer Guide 2026 help you put similar server workflows into context.
Order the Server and Check the Base Installation
Start deliberately without mods. After the automatic setup, the server should be reachable before you change sandbox or Workshop values. Connect once with a client, create a character and check that the world loads. This short baseline test separates hosting, connection and game configuration problems from each other.
Concrete steps:
- Open game-serverhosting.
- Choose at least 4 GB RAM.
- Wait until the server has been set up automatically.
- Start the server without mods.
- Connect once as a test and then stop the server for configuration.
What You Can Set in the Web Interface
All files mentioned in this guide can also be edited through our server panel — no FTP, no editor, no hunting for the right file.
| Area | What you do there |
|---|---|
| Sandbox | The rules of your world: zombie behavior, loot, day length, climate, food. You can apply the game's presets (Apocalypse, Survivor, Outbreak, Rising, Six Months Later) with one click. |
| Server & Mods | Server name, password, PVP, player count, public visibility — and mod management via Workshop link. |
| Access | Change the admin account and server password. |
| Reset World | Start a new map without reordering the server. |
| Files | The direct route for everything the forms don't cover. |
Why the Server Must Be Stopped
This is the most common cause of "my settings don't take effect": Project Zomboid reads its configuration at startup and rewrites it on shutdown. If you change the values while the server is running, you lose them at the next stop — the server overwrites them with the state it loaded at startup.
That's why the order is: stop, change, save, start. Our sandbox editor points this out before you fill anything in and doesn't even accept changes while the server is running, instead of silently letting them expire.
Set Sandbox Settings Cleanly
Project Zomboid offers very detailed sandbox options. The values belong in the sandbox configuration, often as sandboxvars.lua or a server-specific sandbox file. Only change a few values at a time and document the decision for your group, so that later adjustments stay traceable.
-- Excerpt within the existing SandboxVars table:
Zombies = 3,
XPMultiplier = 2.0,
ZombieLore = {
    Speed = 2,
    Strength = 2,
    Toughness = 2,
},
Keep the SandboxVars = { ... } structure generated by the game, including the version field and all other options. # is not a Lua comment. Don't enter this excerpt as a complete file; for loot respawn, use the description of your current game version instead of a guessed number-to-days mapping.
Zombie Presets
| Goal of your group | What you actually compare |
|---|---|
| Gentle start | Movement, number and strength of the zombies in the generated preset |
| More demanding survival play | Exploration pressure, loot and respawn in the world state |
| Custom roleplay | Jointly agreed sandbox values and fitting mods |
Check the values that were actually generated. Names like Apocalypse or Builder don't replace checking the server-side sandbox file.
Use presets as a basis for discussion, not as a rigid rule. A new group often benefits from slower zombies and less pressure, while experienced players prefer harder settings. What matters is that everyone knows whether the server is meant to support roleplay, long-term base building or hard survival runs.
Install Mods
For Workshop mods, you usually need two pieces of information: the Steam Workshop ID and the internal mod ID. The official Steam discussion with a developer reply describes the basic principle as entering the desired Workshop items in the WorkshopItems= line of the server INI: Project Zomboid on Steam. The mod ID usually comes from the Workshop description or from the respective mod file.
- Enter Workshop IDs in
server.ini:
WorkshopItems=2392987599;2778576730;2169435993
Mods=Arsenal(26)GunFighter;tsarslib;Brita
- Restart the server – mods are downloaded automatically
- Players download mods automatically when connecting
Watch for semicolons between the entries. Workshop ID and mod ID are not the same thing; if one of the two lists is incomplete, the server may download a mod but not activate it correctly. With mod dependencies, the required library should come before the dependent mod. Typical examples are:
- Arsenal(26) GunFighter – Weapon overhaul
- Brita's Weapon Pack – Hundreds of weapons
- Hydrocraft – Crafting expansion
- Expanded Helicopter Events – More events
Test new mods first on a fresh or backed-up save. World, map and item mods can affect existing saves; so back up the world files before major changes.
Admin Permissions and Commands
Admins should only be given to trustworthy people. Create at least one admin access, test the permissions and avoid having an unnecessary number of accounts with full access.
/setaccesslevel "PlayerName" admin
/help
Replace the name with the actual server account. Only grant the access level from a session that is already authorized. In the server terminal, the leading slash is omitted; check your version's help there before using further admin commands. Explanations and comments don't belong at the end of the copied command.
Use commands like /godmod or /noclip mainly for support cases, for example when a player is stuck or a configuration error needs to be checked. For normal gameplay, admin interventions should stay transparent.
Check the Result
After every change, you restart the server and check three levels: connection setup, game world and logs. A player should be able to join without an error message. The sandbox values should be recognizable in gameplay, for example in zombie speed or loot respawn. Mods should be synchronized automatically when attempting to connect.
If you also run other complex mod or survival setups, the Satisfactory Dedicated Server Guide is a good comparison for structured multiplayer configurations with long-term world operation.
Troubleshooting
If players can't connect, first check whether client and server use the same game version and whether all Workshop mods are available. Temporarily remove the most recently added mods and restart. If zombies, loot or XP don't respond as expected, the wrong sandbox file was probably edited or the server wasn't restarted cleanly after the change.
For mod problems, check WorkshopItems= and Mods= in particular. The first line loads Workshop content, the second activates the internal mod IDs. Typos, missing semicolons or swapped IDs are common causes. For map mods, you additionally need the correct map entries in the server configuration; only change such setups with a backup.
FAQ
How much RAM do I need for a Project Zomboid server?
The original guide provides for at least 4 GB RAM. For small groups, that is a sensible starting point. Many mods, large maps or more simultaneous players may require more resources.
Do I have to install mods before the first start?
No. It's better to start without mods first and check that the server is reachable. After that, you add Workshop mods step by step and spot errors faster.
What is the difference between WorkshopItems and Mods?
WorkshopItems= contains the Steam Workshop IDs to download. Mods= contains the internal mod IDs that the server actually loads. Both entries must match the respective mod.
Why don't my sandbox settings take effect?
Often the wrong file was edited, the server wasn't restarted or a value was overwritten. Check the server-specific sandbox file and only change a few values per test run.
Should I make a backup before changing mods?
Yes. Map, world and item mods in particular can affect saves. Back up the world before major changes so you can roll back if problems occur.