You add a Satisfactory dedicated server in the game via the Server Manager using the address and port shown in the panel. Claim it with an admin password and start a new session or load your .sav savegame. Then check a second join and a successfully written save before you add mods.
Requirements
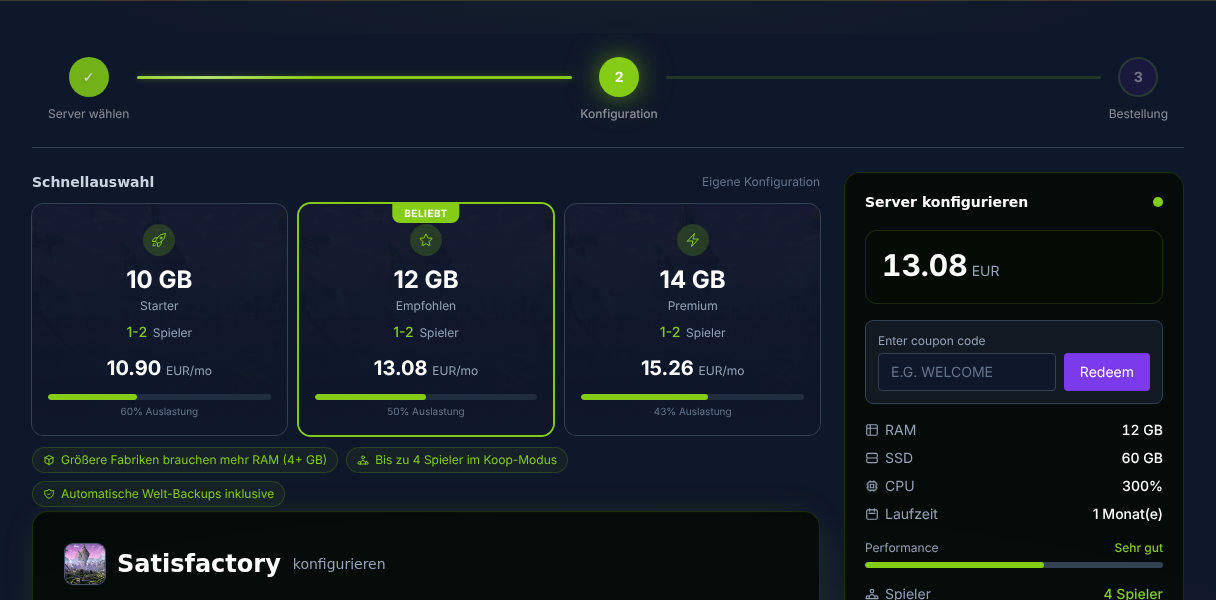
Plan based on your actual factory size and player count. The Dedicated Server Wiki lists 8 GB as a community recommendation and 16 GB for larger saves or more than four players. This is not a measured guarantee for your world; extensive production chains and mods require additional reserve.
You also need a Satisfactory installation on your PC, access to the Server Manager in the game, and, for existing worlds, the local .sav file. The official Satisfactory wiki documentation on the dedicated server lists the current default ports since patch 1.1.0.0 as the default port 7777 for TCP/UDP as well as the Reliable Messaging port 8888/TCP; according to this source, older values of 15000 and 15777 have no longer applied since patch 1.0: Documentation at satisfactory.wiki.gg
Order the Server
- Go to game-serverhosting
- To start, plan for 8 GB RAM as a community guideline
- For large factories or more than four players, check 16 GB and the actual load
- Start the server after provisioning and wait until it is reachable
The advantage of a rented server isn't just the hardware. Reproducible server starts, access to files, clear management through the panel, and support if you get stuck with savegames, ports, or configuration matter as well. If you're comparing similar co-op setups, you'll find more examples of persistent multiplayer worlds in our Rent and Set Up a Valheim Server – Co-op Guide 2026 and in the Rent a Project Zomboid Server – Multiplayer Guide.
Initial Setup in the Server Manager
Satisfactory isn't managed through configuration files alone. The initial setup runs directly in the game via the Server Manager:
- Start the server and wait briefly until the process is fully running
- Open Satisfactory and call up the Server Manager in the main menu
- Add the server via IP and port
- Set the admin password
- Start a new game or select an existing savegame
- Check the server name, session settings, and access protection
The admin password is important because without this permission you can't reliably manage the server. Use a dedicated password that you don't reuse from other services, and share it only with people who are actually allowed to change server settings.
Upload a Savegame
If you want to keep using an existing world, proceed as follows:
- Back up the server state first; then find the local savegame:
%LOCALAPPDATA%\FactoryGame\Saved\SaveGames\<SteamID>\ - Select the matching
.savfile - Upload the file via SFTP or the panel file manager into the server's savegame folder
- In the Server Manager, select the savegame and load it
- Keep the previous backup for comparison; only overwrite existing saves after making a backup
Make sure you don't accidentally upload an autosave that is older than the progress you want. A short test is worthwhile: start the server, log in, and check the HUB location, milestones, and key production lines. Only when these points are correct should you continue playing with several players.
Install Mods
For mods, you use the Satisfactory Mod Manager:
- Download SMM from ficsit.app
- Add the actual dedicated server installation in SMM and check the matching Windows/Linux server builds
- Apply the mod profile to the detected server installation; don't blindly copy the Windows client folder to a Linux server
- Restart the server
- Check that all players have the same mods and compatible versions installed
Mods are the most common cause of connection problems after updates. So don't blindly update all mods when an important world is running stably. A short maintenance window is better: create a backup, update the mods, start the server, test the connection, and only then inform your play group.
Ports and Reachability
Current default ports since patch 1.1.0.0:
| Port | Protocol | Usage |
|---|---|---|
| 7777 | TCP and UDP | Server/game traffic and APIs |
| 8888 | TCP | Reliable Messaging |
For a rented server, the ports assigned in the panel are authoritative. The old ports 15000 and 15777 don't belong in a current fresh installation.
| Port | Protocol | Usage |
|---|---|---|
| 7777 | UDP | Game traffic |
| 15000 | UDP | Beacon service, older configurations |
| 15777 | UDP | Query, older configurations |
For current dedicated server versions, you should follow the official documentation: since patch 1.1.0.0, 7777/TCP, 7777/UDP, and 8888/TCP are described as the defaults. At game-serverhosting, the required ports are managed on the server side; classic port forwarding on your home router isn't necessary with a rented server. If you're comparing older guides, always check which Satisfactory version they refer to.
Configure Performance Sensibly
Satisfactory is sensitive to world size, production density, and server tick rate. RAM grows with factory size; many objects, long conveyor networks, and large megafactories increase the load. For the processor, high clock speed is often more important than many cores, because not all server work runs in parallel. The officially advertised player count and the practically usable player count can diverge depending on the state of the world; so avoid firm promises and test with your specific factory.
For getting started, this order makes sense: test without mods first, then load the savegame, then increase the player count, and finally enable mods. If you're comparing other survival or crafting-heavy servers, the Rent a 7 Days to Die Server – Multiplayer Guide 2026 and the Rent and Set Up a V Rising Server – Vampire Guide are also helpful.
Verify the Result
After setup, the server should be reachable in the Satisfactory Server Manager, have an admin password, and load the correct world. Also check whether manual saving works, whether autosaves are written, and whether all players can join without version or mod conflicts. Don't just test the login, but also a few minutes of actual play with production, the power grid, and moving through the factory.
Troubleshooting
If the server doesn't appear, first check the IP, port, and server status in the panel. If players get stuck while loading, check the current port requirements in the official dedicated server documentation and whether the server has fully started. For crashes after mod changes, remove the most recently changed mods as a test and start from a backup. For poor performance, first reduce parallel building projects, check the RAM usage, and plan an upgrade if the world constantly hits its limits.
FAQ
How much RAM do I need for a Satisfactory server?
The Dedicated Server Wiki recommends 8 GB as a community guideline and 16 GB for larger saves or more than four players. Monitor the memory needs of your specific factory; these values are not a guarantee.
Where do I set up the server in the game?
You use the Server Manager in the Satisfactory main menu. There you add the server via IP and port, set the admin password, and choose a new or uploaded savegame.
Can I upload my local savegame?
Yes. On Windows, savegames are typically located in %LOCALAPPDATA%\FactoryGame\Saved\SaveGames\<SteamID>\. Upload the desired .sav file via SFTP or the panel file manager and select it in the Server Manager.
Do mods work on a dedicated server?
Yes, if the server and clients use the same mods in compatible versions. Use the Satisfactory Mod Manager from ficsit.app, create a backup beforehand, and test mod changes before your regular game night.
Do I have to forward ports myself?
With a rented server from game-serverhosting, you don't need to set up any home router port forwarding. It's still important to know the ports that match the installed Satisfactory version, especially when comparing against older guides.
What do I do about lag in large factories?
Check the RAM usage, mod status, and factory size. If the problems only appear after an expansion or mod update, test with a backup, reduce the most recent changes, or plan for more resources.