For a Minecraft Java modded server, the game version, loader and the server-side files of the chosen pack must match. First choose the documented server installation: a client export or an arbitrary JAR is not a complete server package. This guide walks you through the setup and the acceptance check of an existing world; to join from the client, you then use the matching pack profile.
Distinguishing Mods, Plugins and Packages
| Content | Purpose and suitable environment |
|---|---|
| Java mod | Extension for an explicitly supported mod loader and a Minecraft version |
| Paper/Bukkit plugin | Server feature for the supported plugin platform |
| Java datapack | Data-based changes to a Java world, depending on the data format of the version |
| Resource pack | Visuals such as textures or sounds; no automatic installation of new server logic |
| Bedrock behavior pack | Bedrock gameplay behavior in the supported add-on system |
| Shader | Visuals in the matching client; no replacement for a server mod |
The Bedrock documentation covers the packages there. Do not copy Bedrock content into the Java mods folder. For Paper extensions there is a separate guide on installing plugins.
Create a Version List Before Installing
Note down Minecraft, the loader including its version, the pack name and the pack version. For individual mods, their versions and dependencies are added. The project page must explicitly name the loader you want. Forge, NeoForge, Fabric and Quilt are not interchangeable merely because of similar names.
Also check whether the mod needs to be installed on the client, the server or both: some mods belong only on the client, others only on the server or on both. A client with additional graphics-only mods therefore does not need to have exactly the same file list as the server. The required shared gameplay mods, on the other hand, must match the intended combination. The NeoForge guide explains separate client and server installations.
Using a Ready-Made Modpack
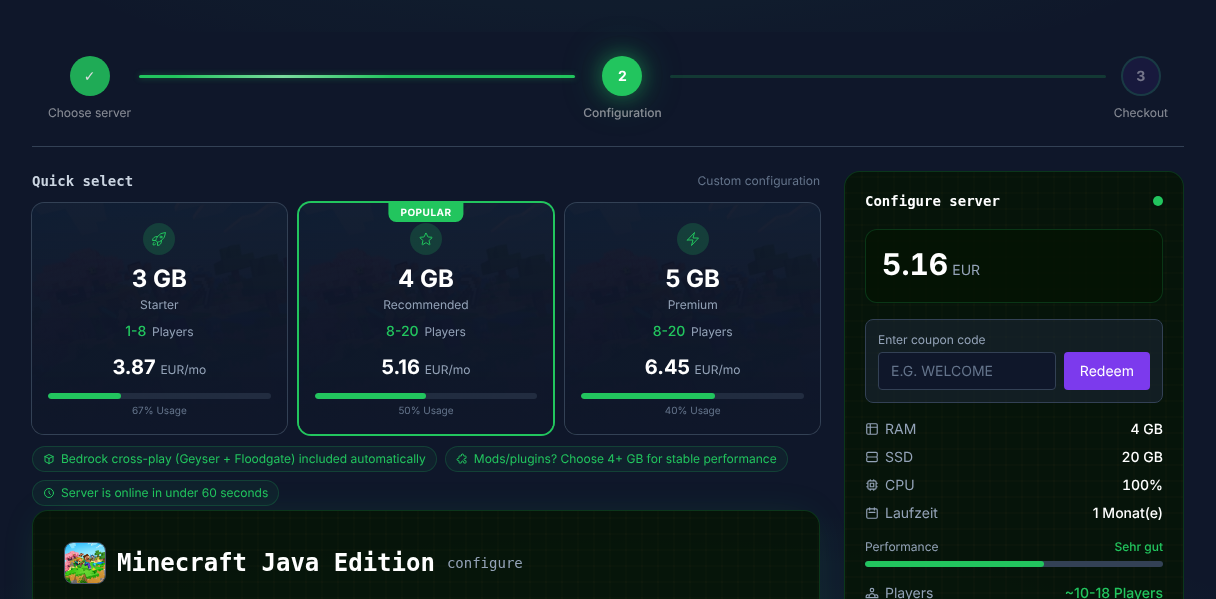
If the pack you want is offered in the order, choose the specific pack version there. After provisioning, you check in the panel and in the startup log which Minecraft and loader version is actually running. Install the same intended pack release on the client.
A client export is not automatically a complete server package. Use the server files or installation instructions of exactly this pack release. If it contains an installer or a start script, its loader configuration is also part of the installation: do not rename just any mod JAR to the server JAR. Before a manual transfer, verify that the chosen server software supports this installation. The entire local launcher folder, on the other hand, also contains client files and does not belong on the server across the board. When it comes to joining a modpack, the right client instance is the next step.
Adding Individual Mods in the Panel
Back up the server and world before making changes. Run the trial with a copy if a mod introduces new world content or changes data. Stop the server before manual file changes.
Open the mod section and search for the project you want. Check the offered version, loader, required installation on client, server or both, and dependencies. Install the required libraries together with the mod and wait for the process to finish. When replacing a mod, the old release of the same mod must not remain in the folder as well: duplicate Mod IDs can prevent the server from starting. If no suitable release is offered, a similar version number is no substitute for documented support. The Fabric guide to installing mods also describes how to match versions and dependencies.
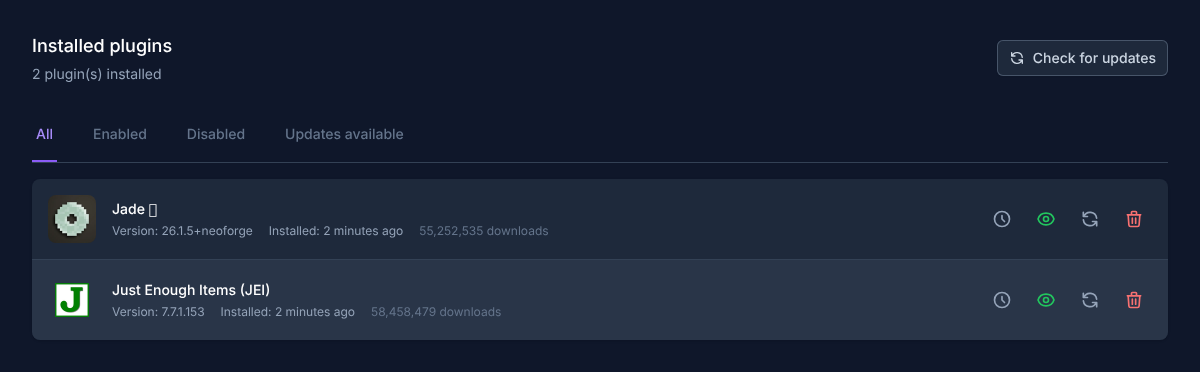
Then start the server and read the first error message. Only test joining after a successful start. Change one functionally related group at a time so that you can identify the cause if an error occurs.
Opening an Existing World with Mods
With a third-party or generated world, you clarify its requirements before importing it. A texture view can make content look different without providing new blocks. A world with actual mod blocks, on the other hand, needs the corresponding mod base. A resource pack does not restore missing machines or dimensions.
Keep the original and the required versions. Only open a copy. Then check known structures, items, containers, recipes and dimensions. For the transfer, follow the process in Uploading and switching a world.
Telling Typical Errors Apart
| Observation | Check first |
|---|---|
| Startup aborts with a missing dependency | Project requirements and version of the required library |
| Server starts, joining fails | The client instance actually launched and shared gameplay mods |
| Only visuals are missing | Resource pack or client-side graphics component |
| Mod blocks disappear | Missing or incompatible content mod; end the test |
| Problem begins after a pack update | Changes between exactly these two pack versions |
Do not remove a content mod as an experiment from your only live world. Data can be lost the next time it is saved. The safe way back restores the old mod combination and its previous world state together.
Verifying Success
Let a normal player account join with the intended pack instance. Test a specific feature of the new mod and a mechanic that worked before. Check the inventory, mod blocks and dimensions, save a small change and restart cleanly. After the restart, check the same spots again. A startup without errors alone shows neither complete world content nor matching client files. Document the pack release, loader and shared mods for other players.
FAQ
Do all mods have to be on both sides?
No. The project's client and server information decides. Do not install client-only mods on the server across the board.
Can I mix Forge and NeoForge?
Only an explicitly documented compatible combination is reliable. Choose the intended package for the loader you use.
Does more RAM help with a missing dependency?
No. First fix the reported version or dependency gap. Resource planning only follows once the installation works.
Related Guides
- Safely Switching the Minecraft Version and Mod Loader
- Backing Up a Minecraft Server and Restoring Backups
This Guide in Other Languages
English · Español · Français · Nederlands · Português · Русский